|
|
|
|
|
|
|
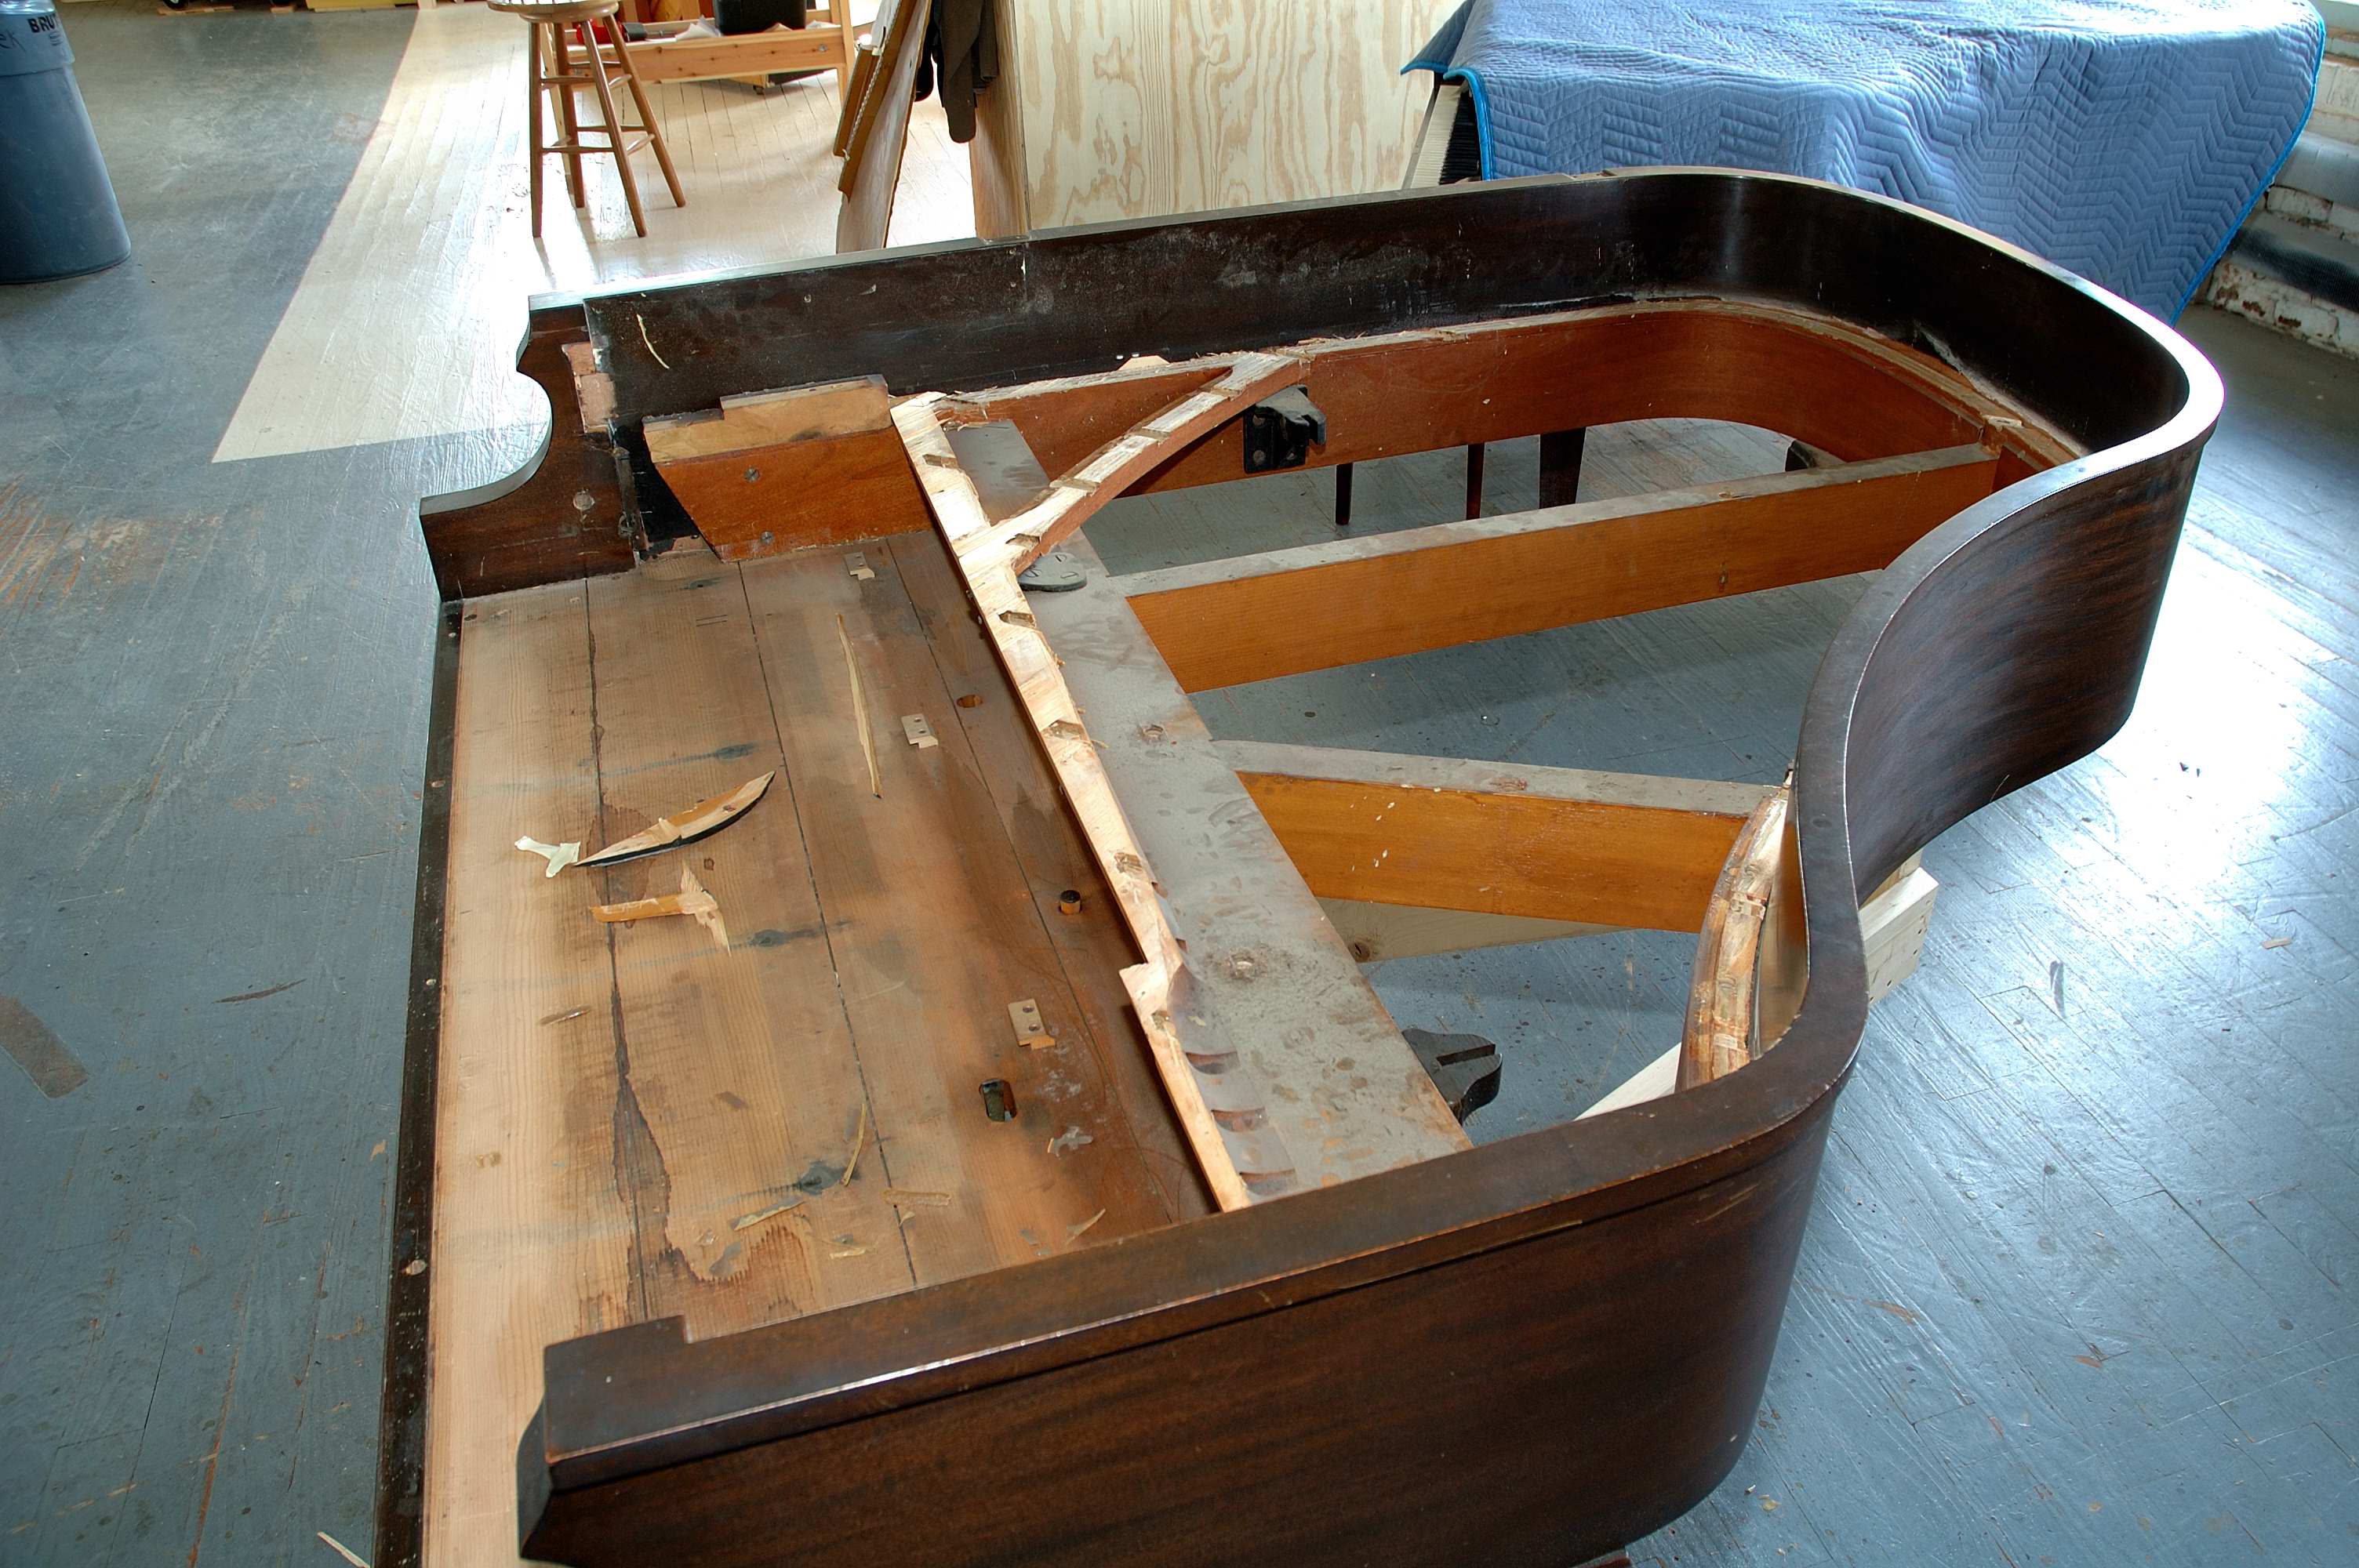 |
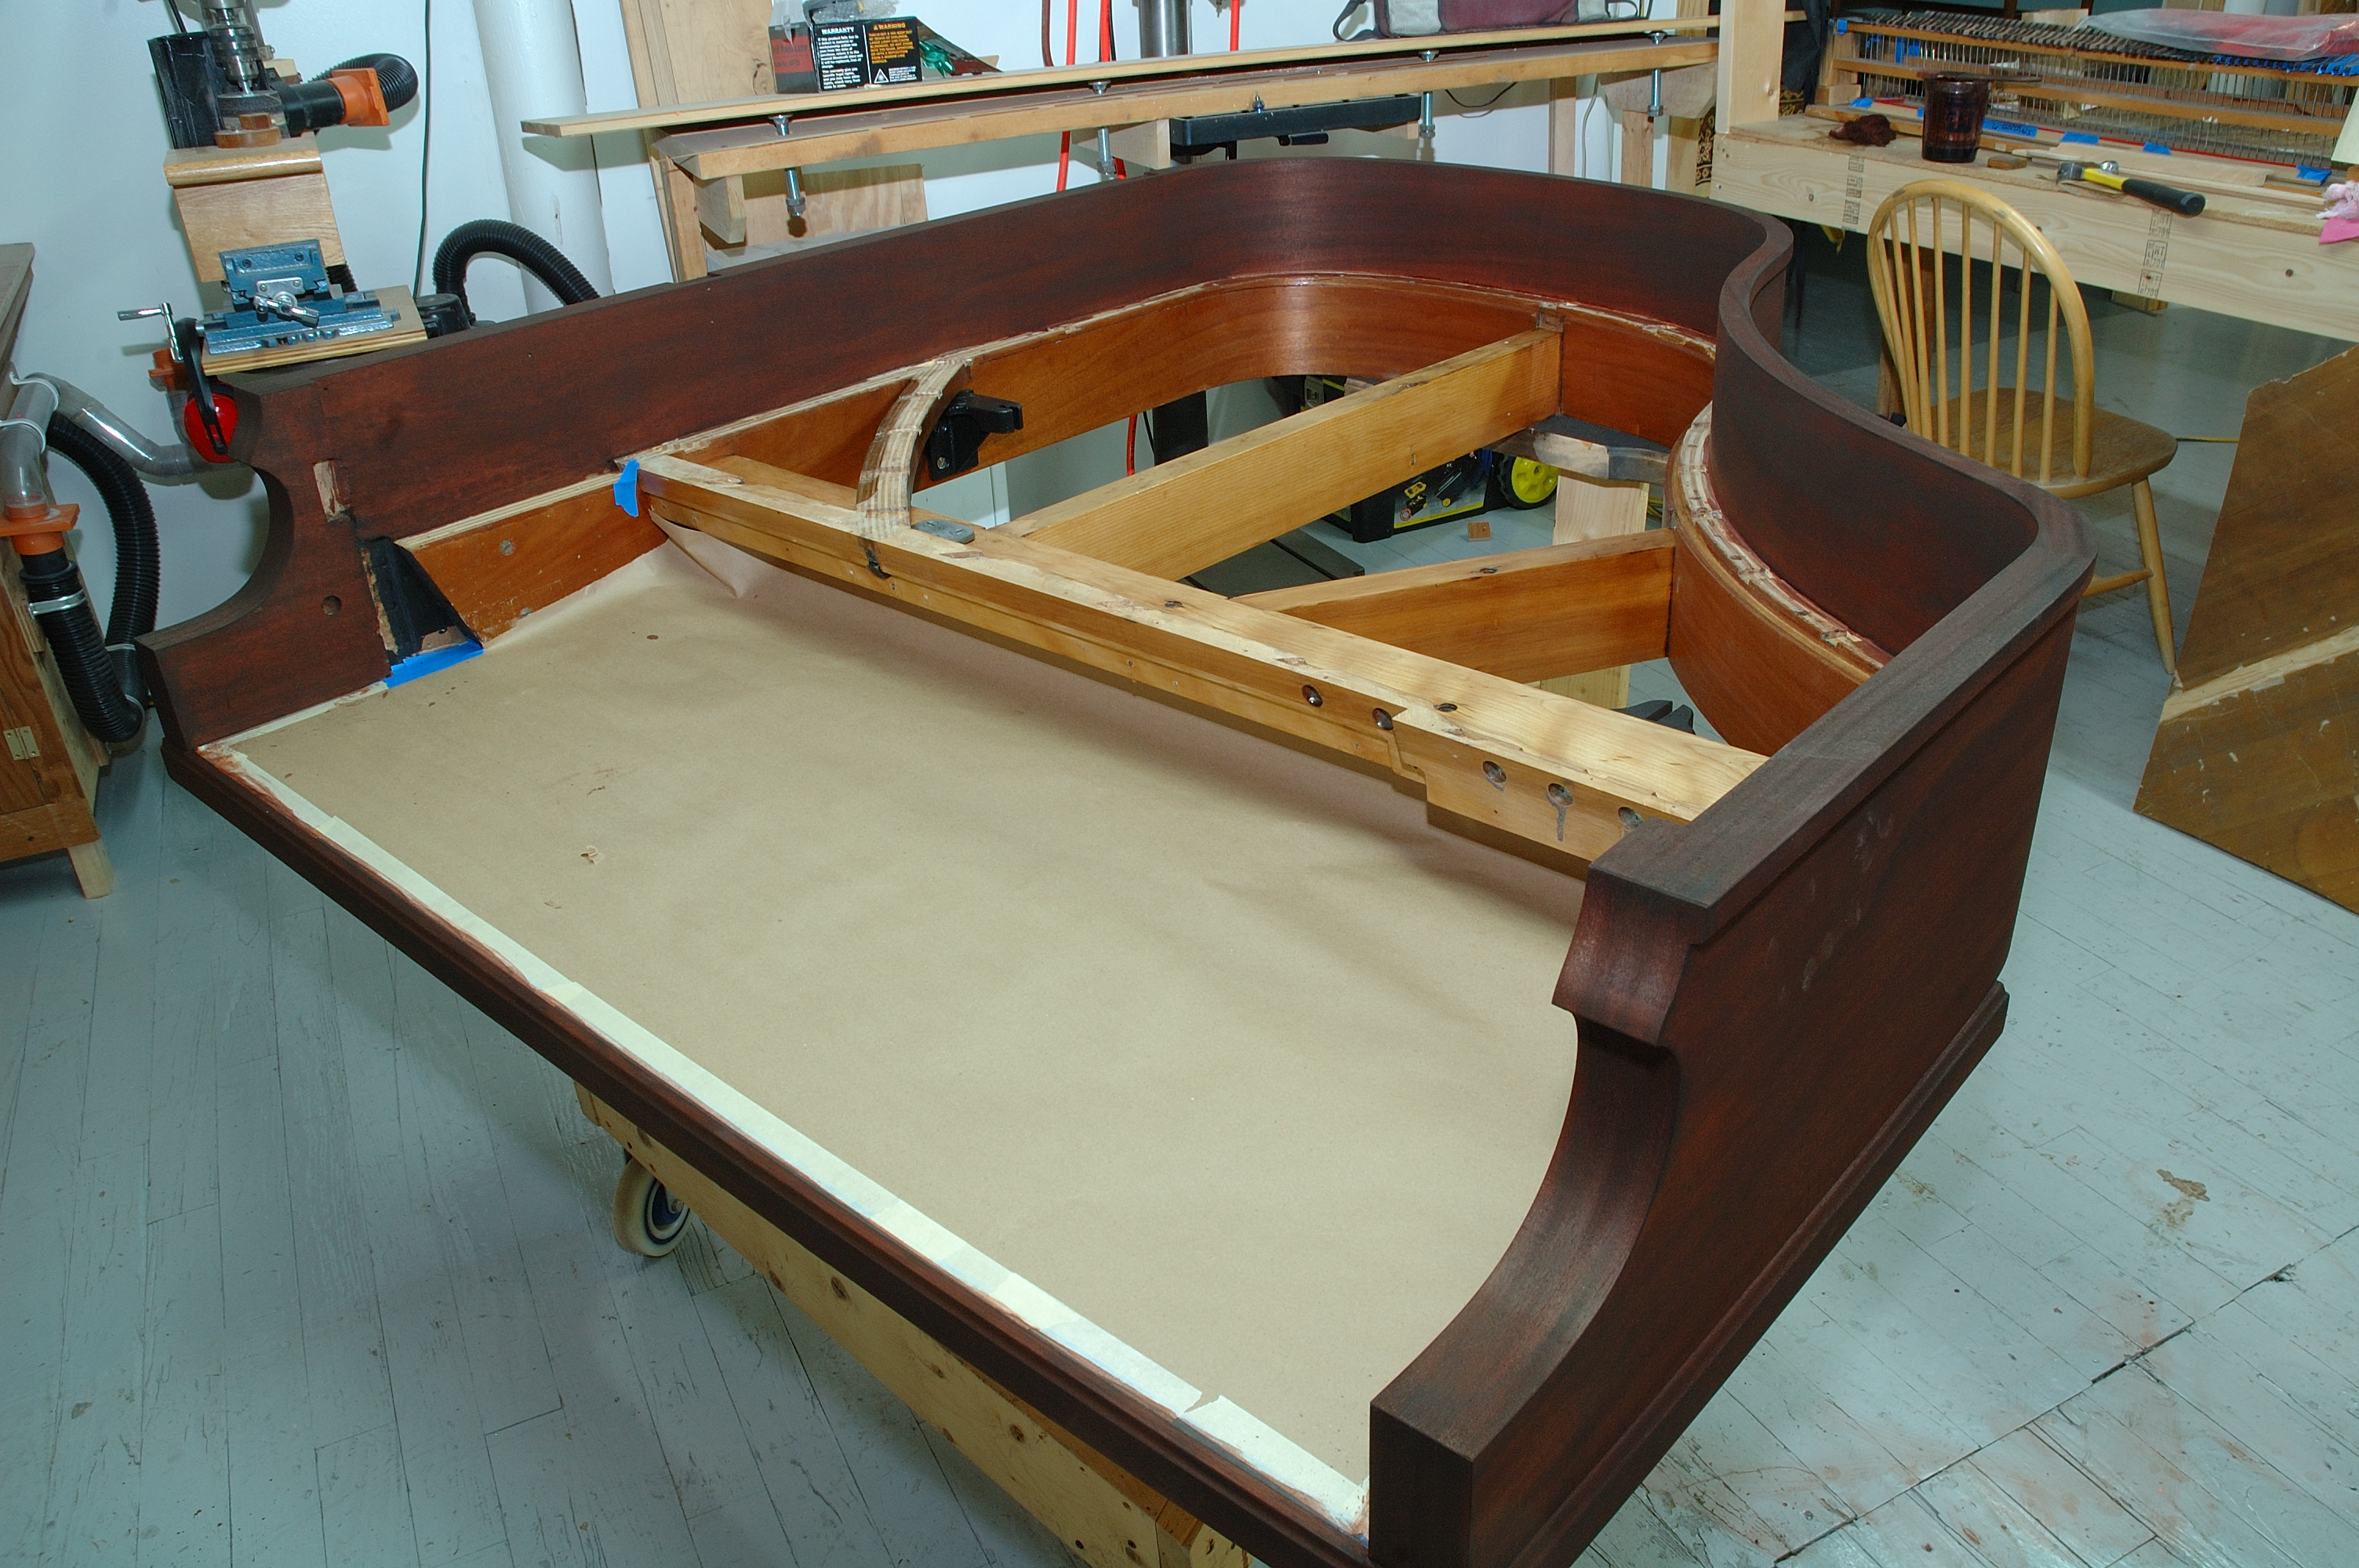
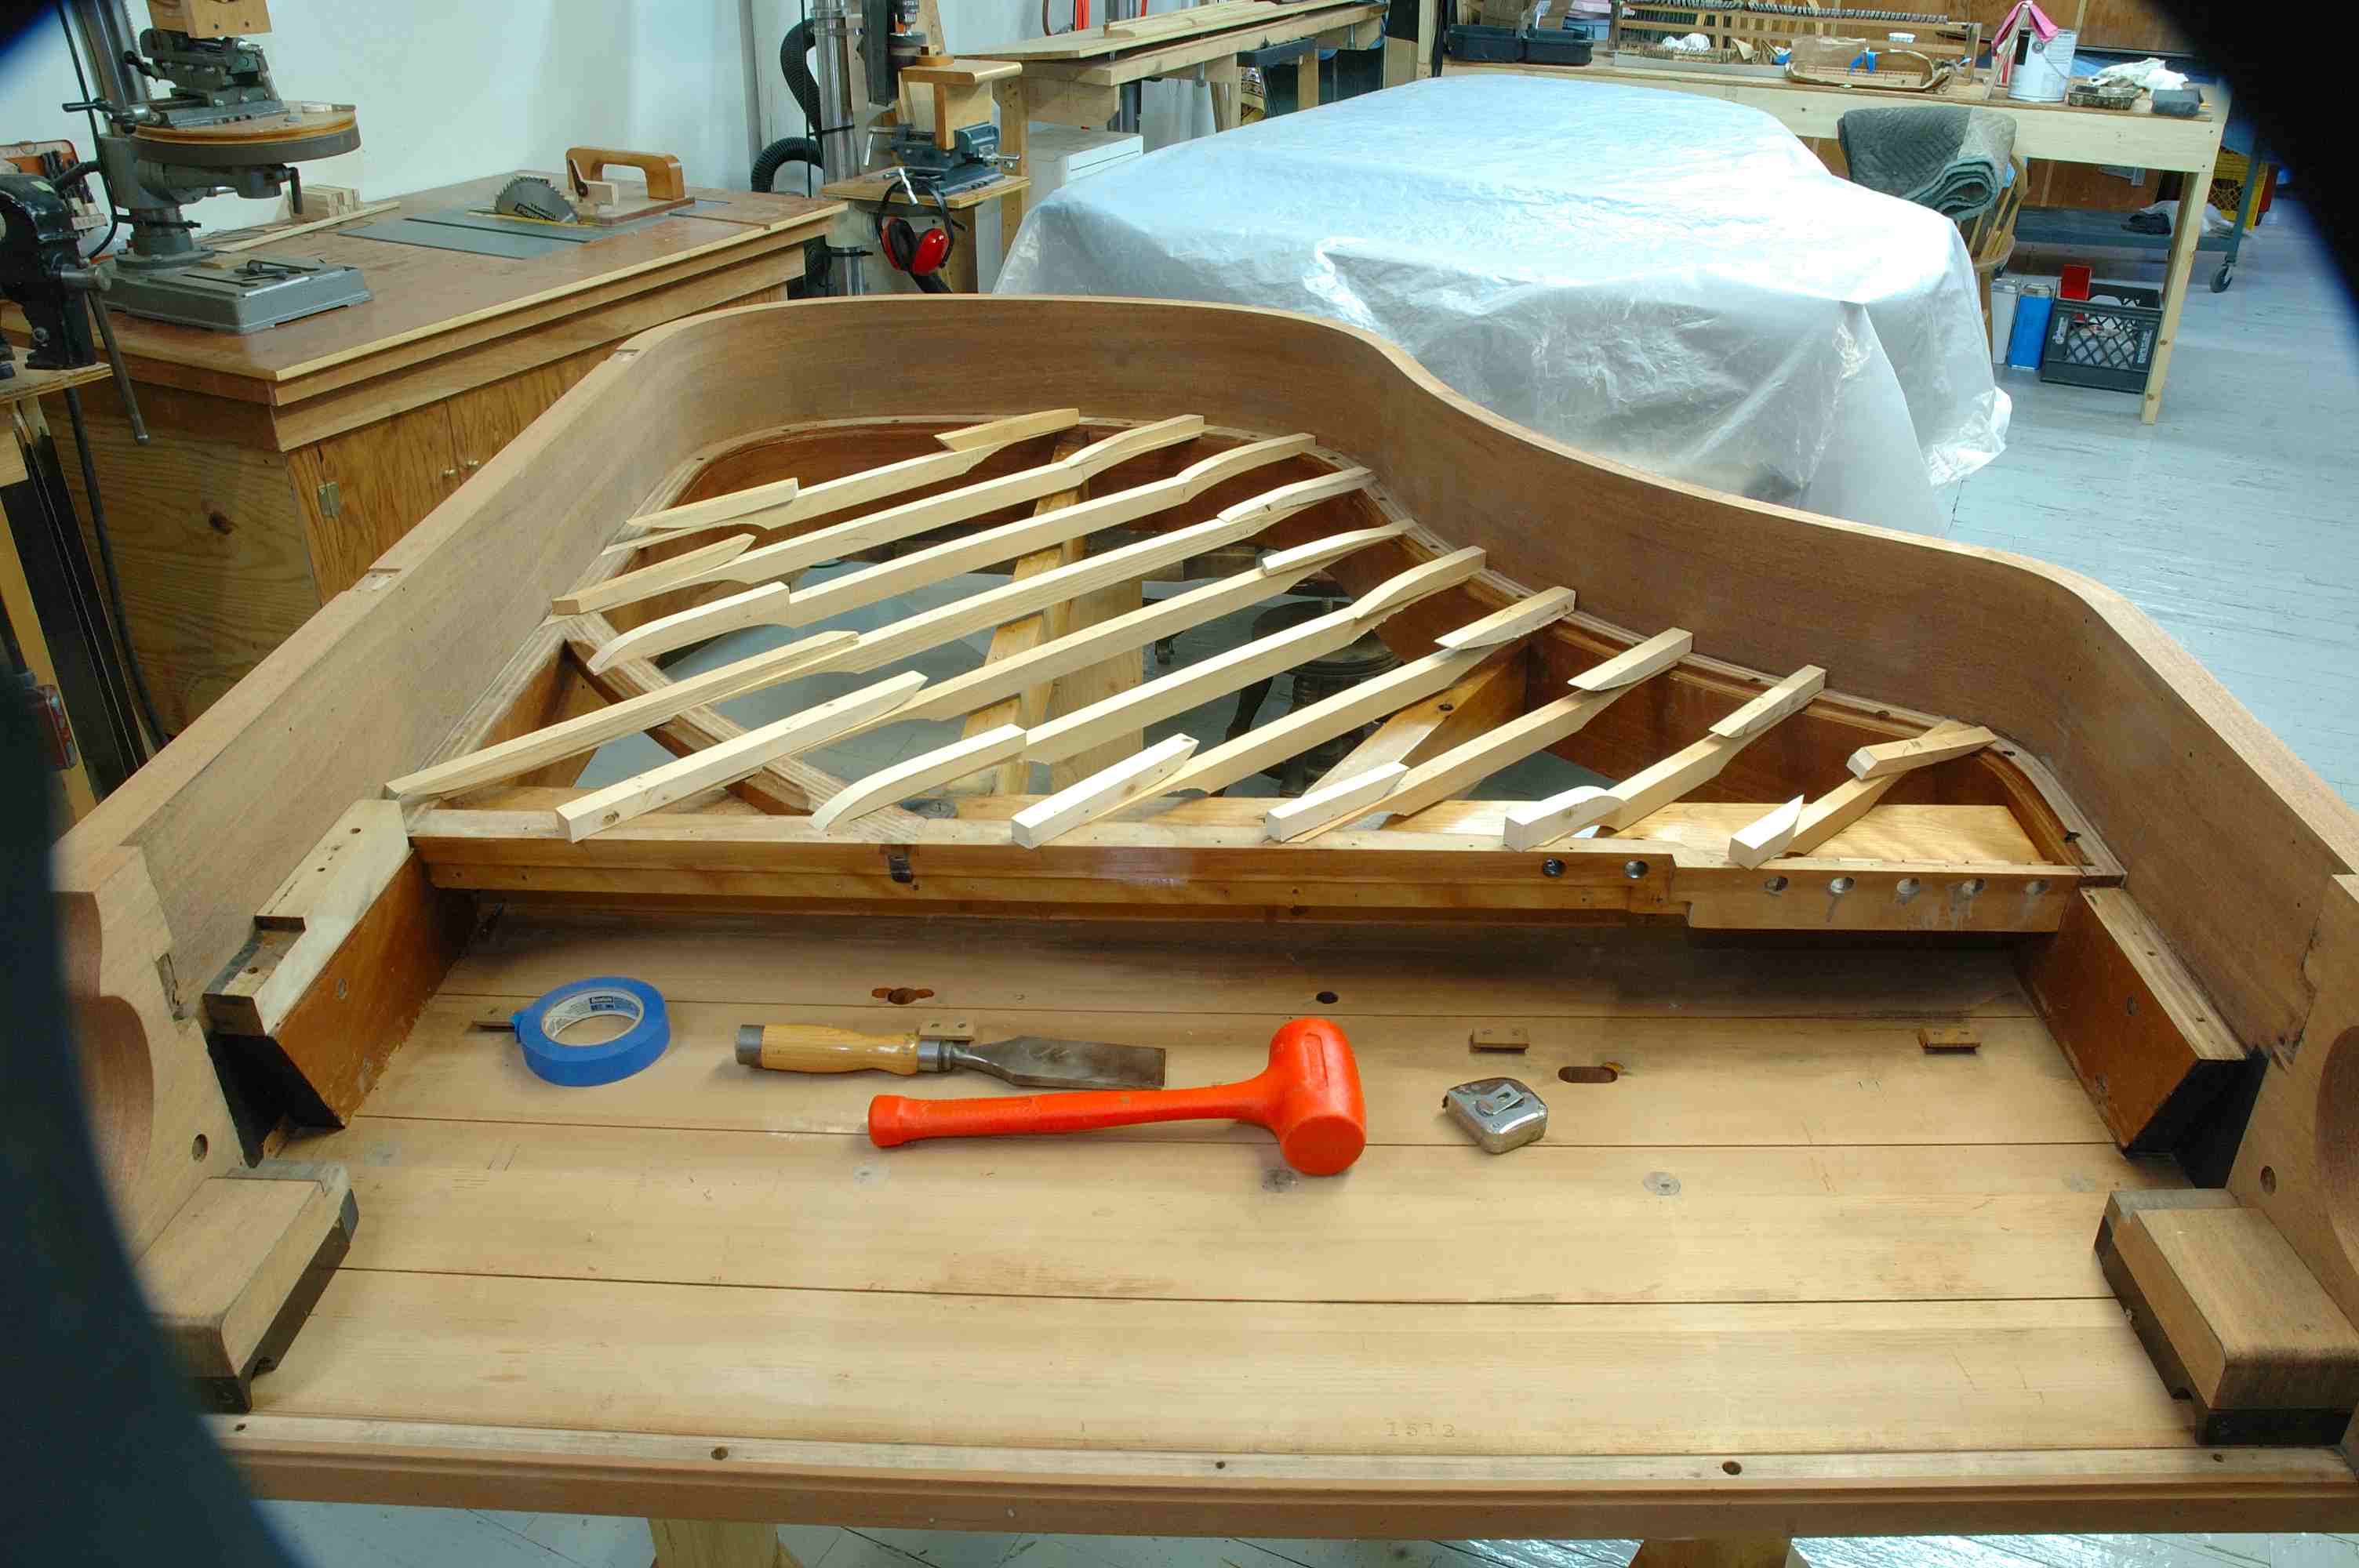
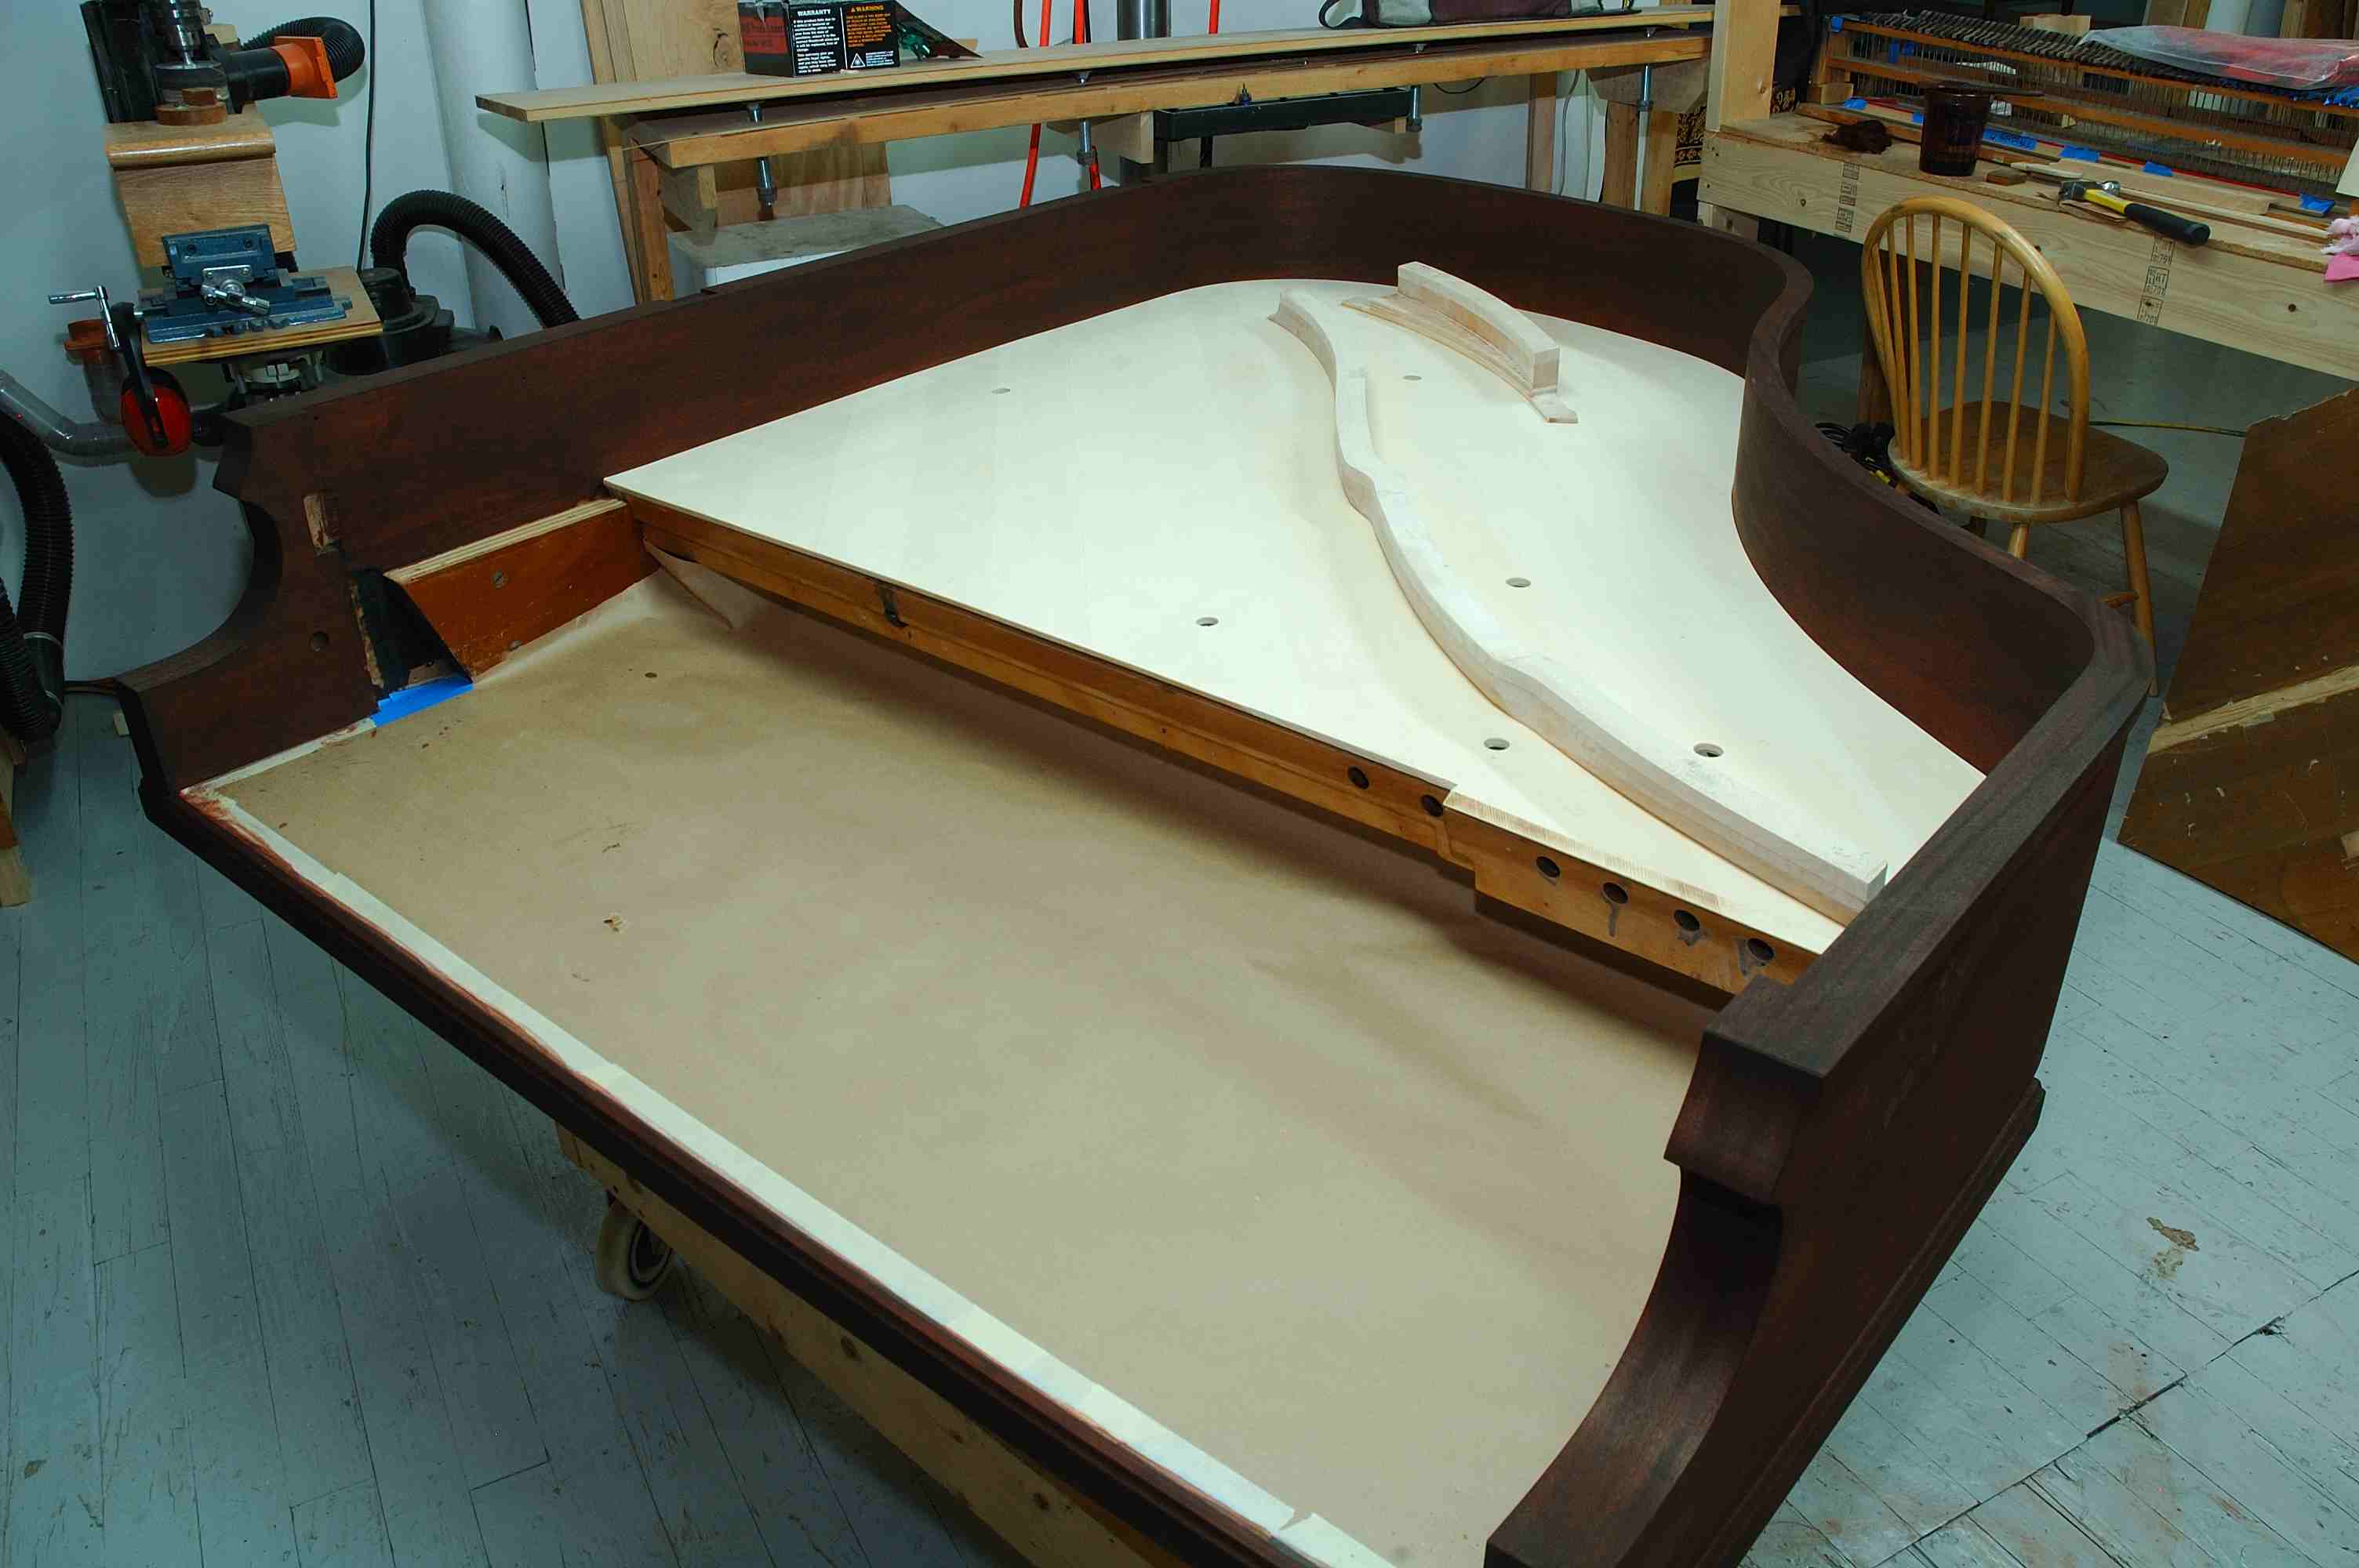
Case with the sound board removed |
|
|
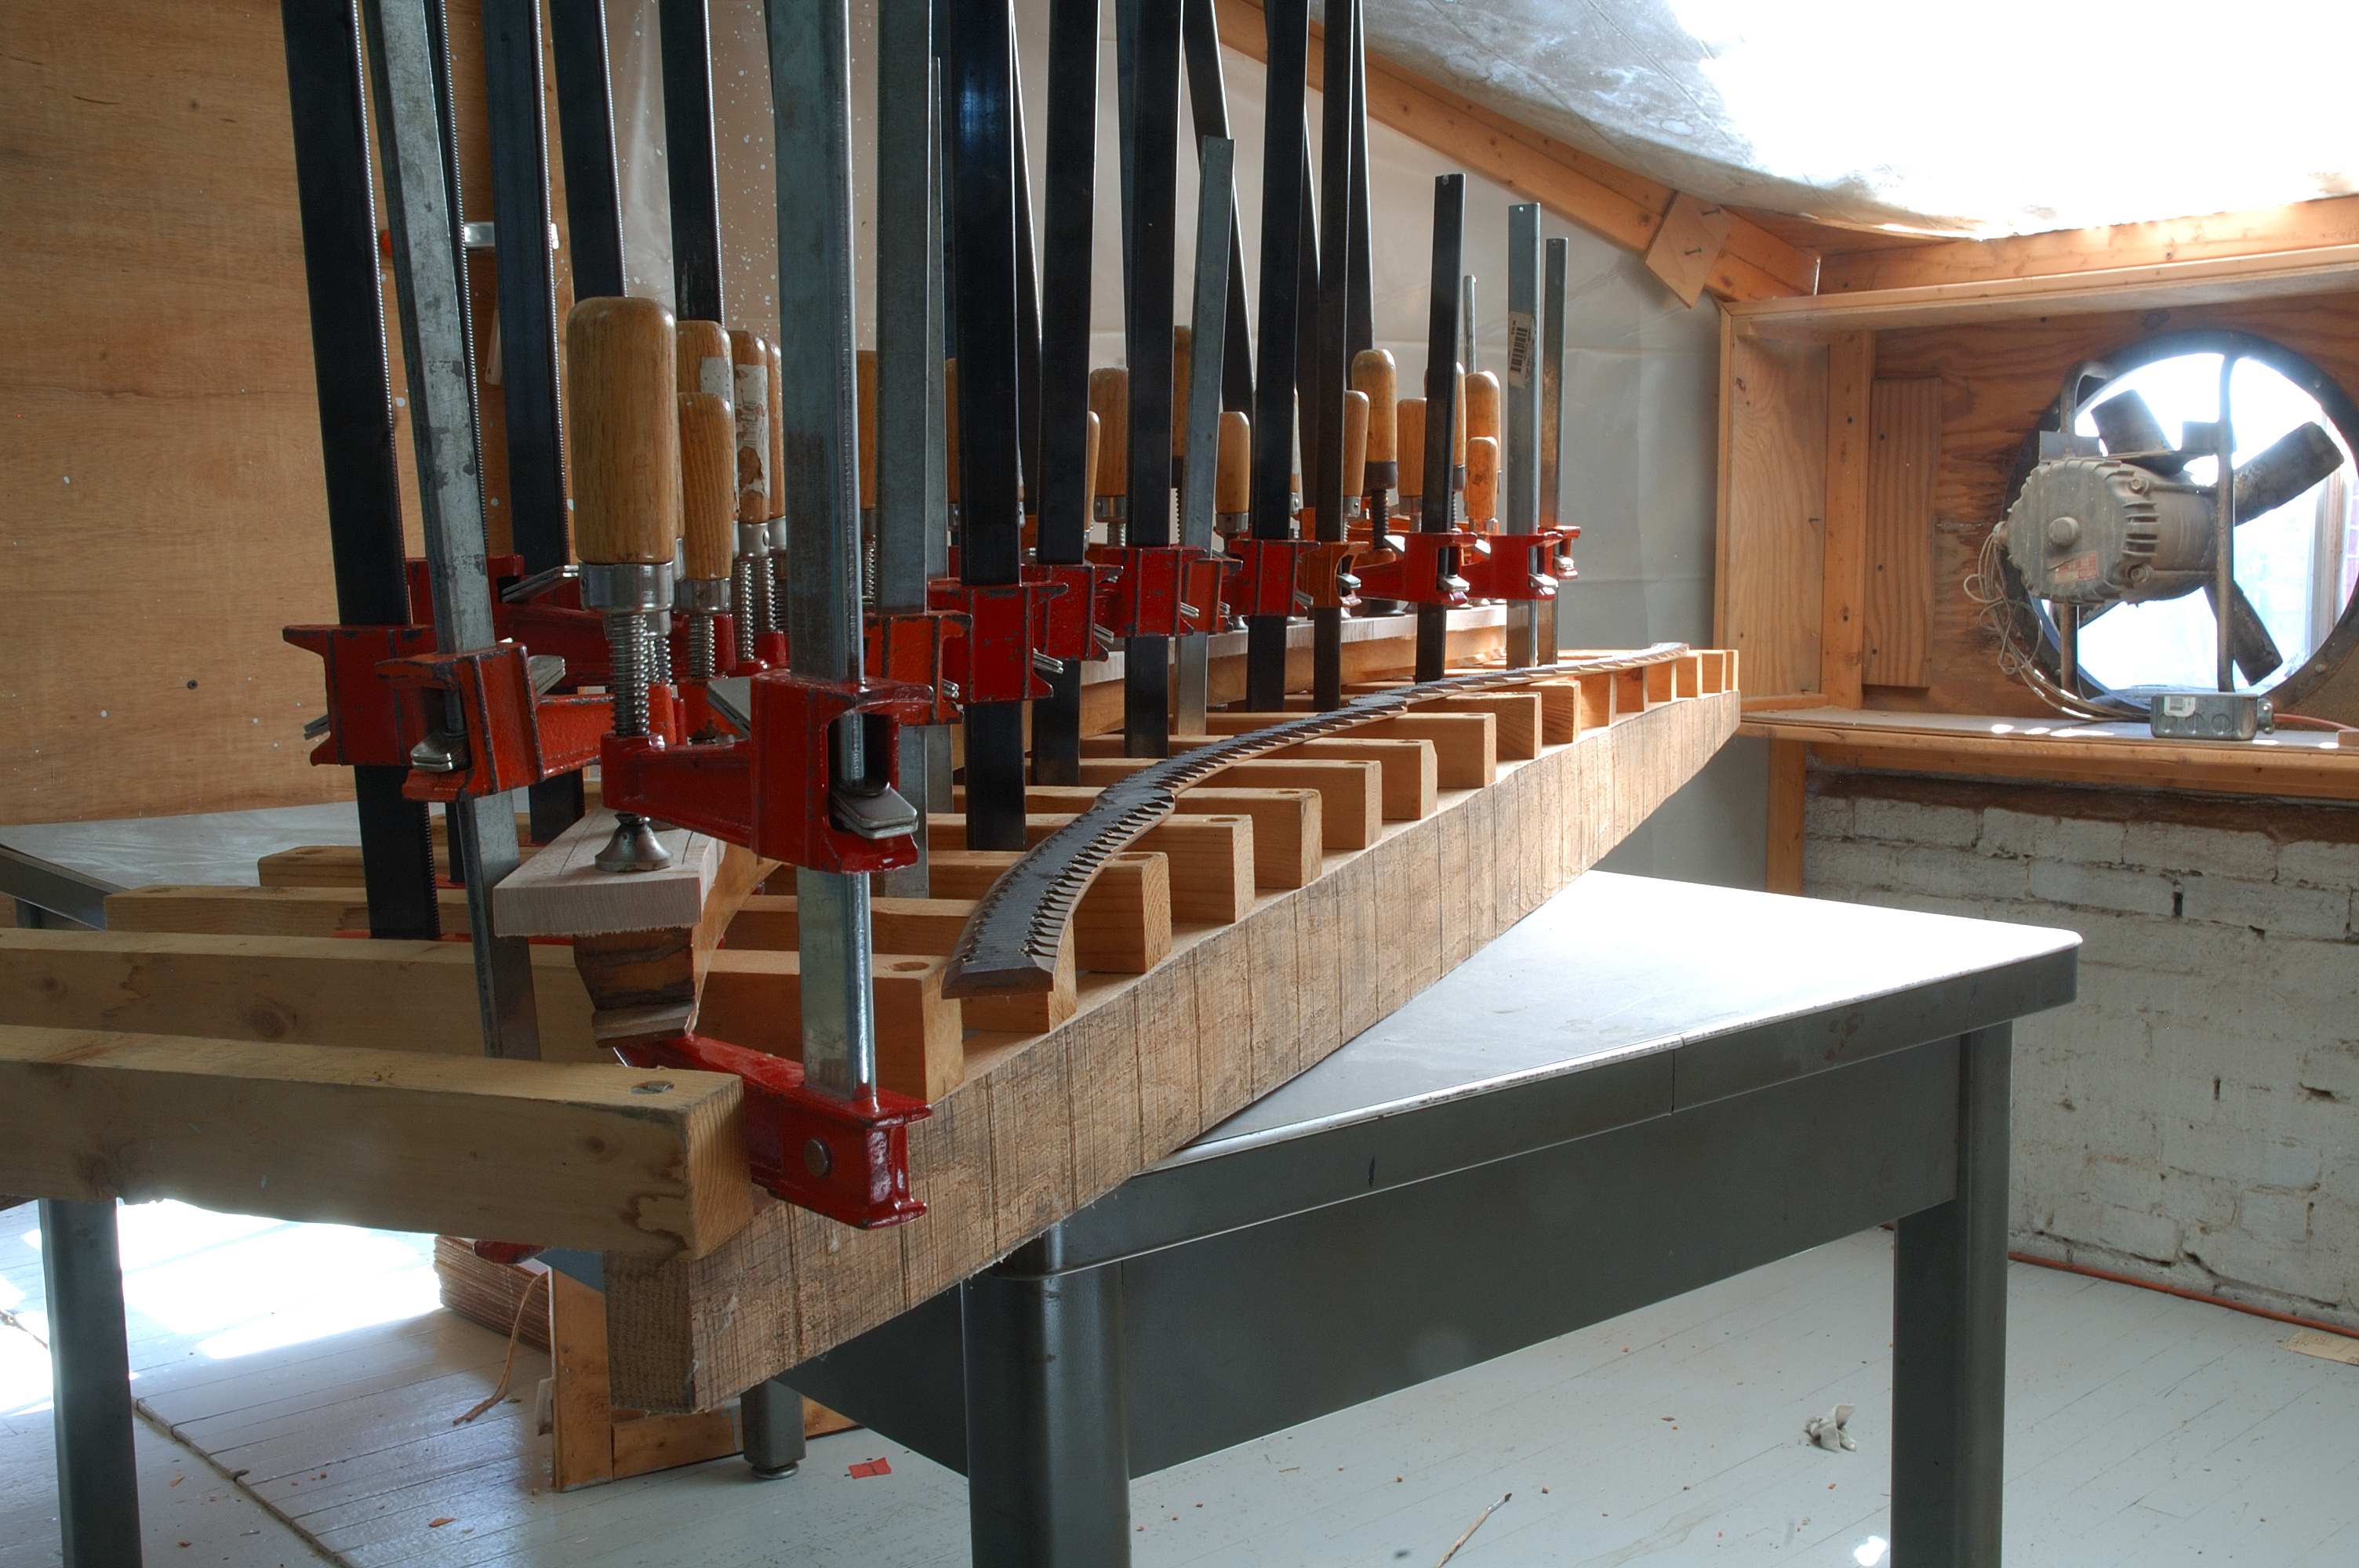 |
The new cap is being glued onto the old bridge root. The clamping template is curved to match the curve of the sound board. |
|
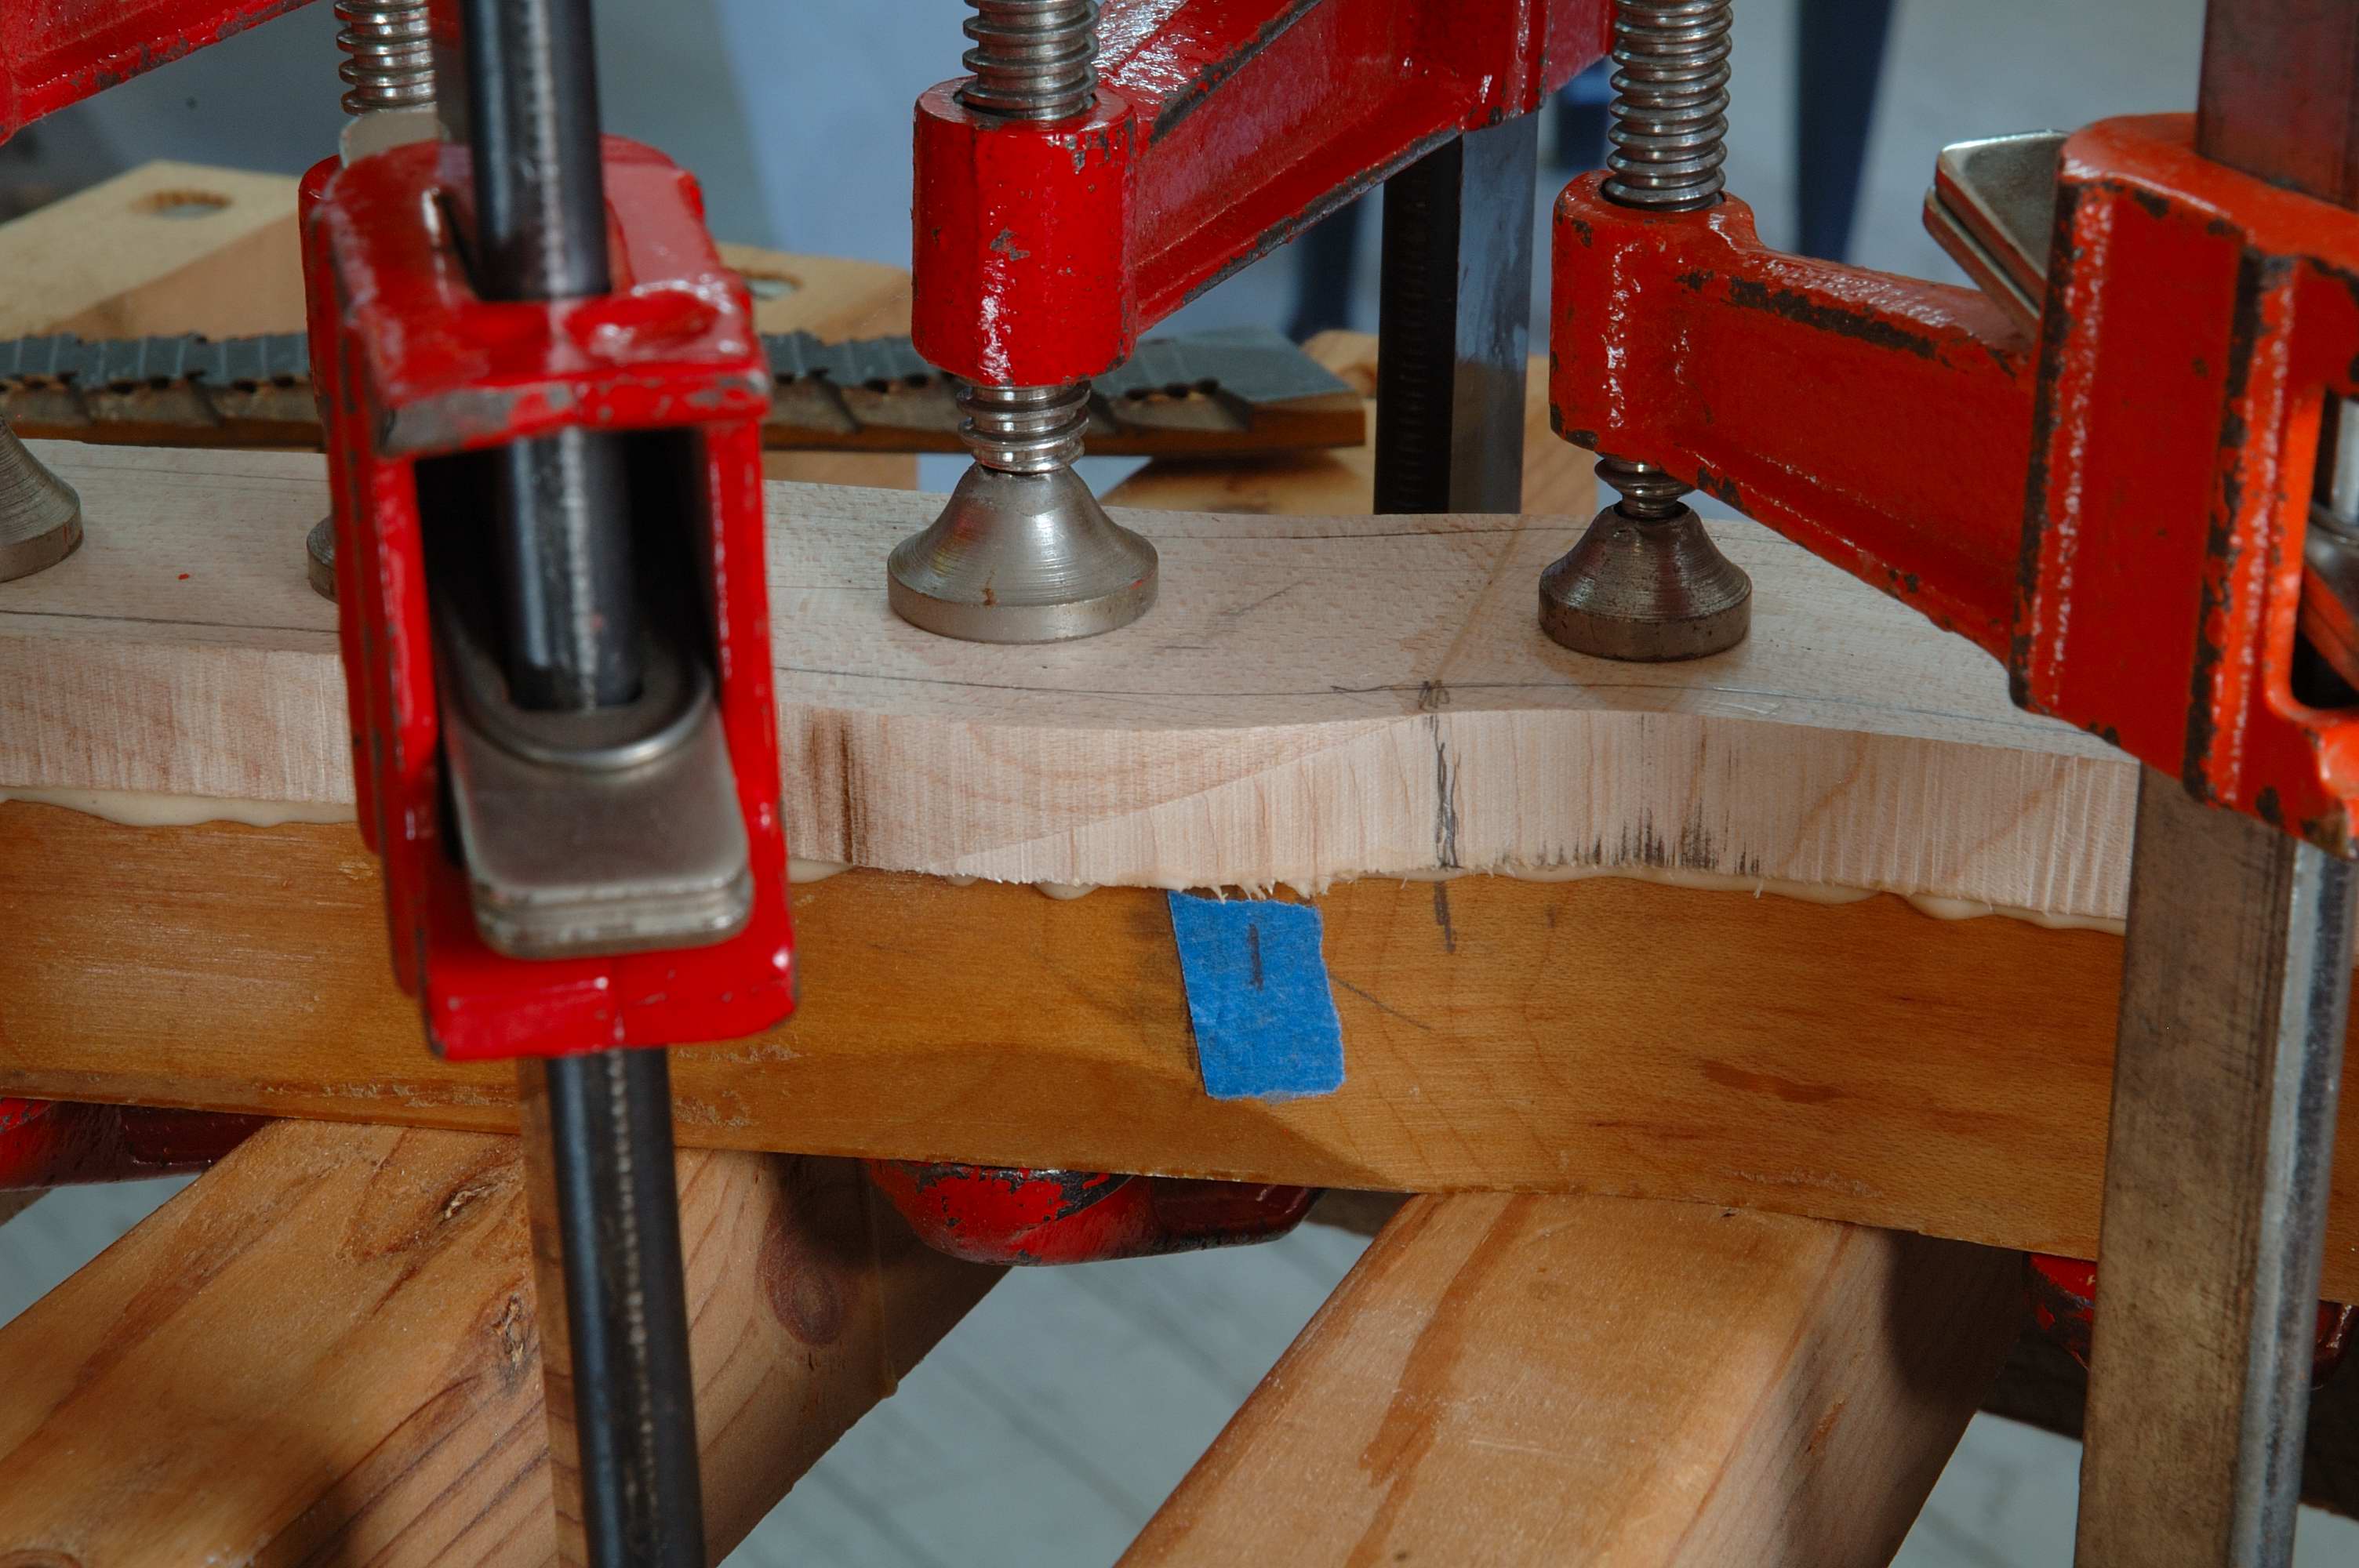 |
This shows the "scarf " joint where the two sections of the bridge cap meet.
The joint is carefully placed where there are no notches. I feel this is a stronger joint than the "butt" joint commonly used. |
|
 |
The ribs are fit. The pieces laying on top are saved as spacers for the gluing of the ribs to the sound board. |
|
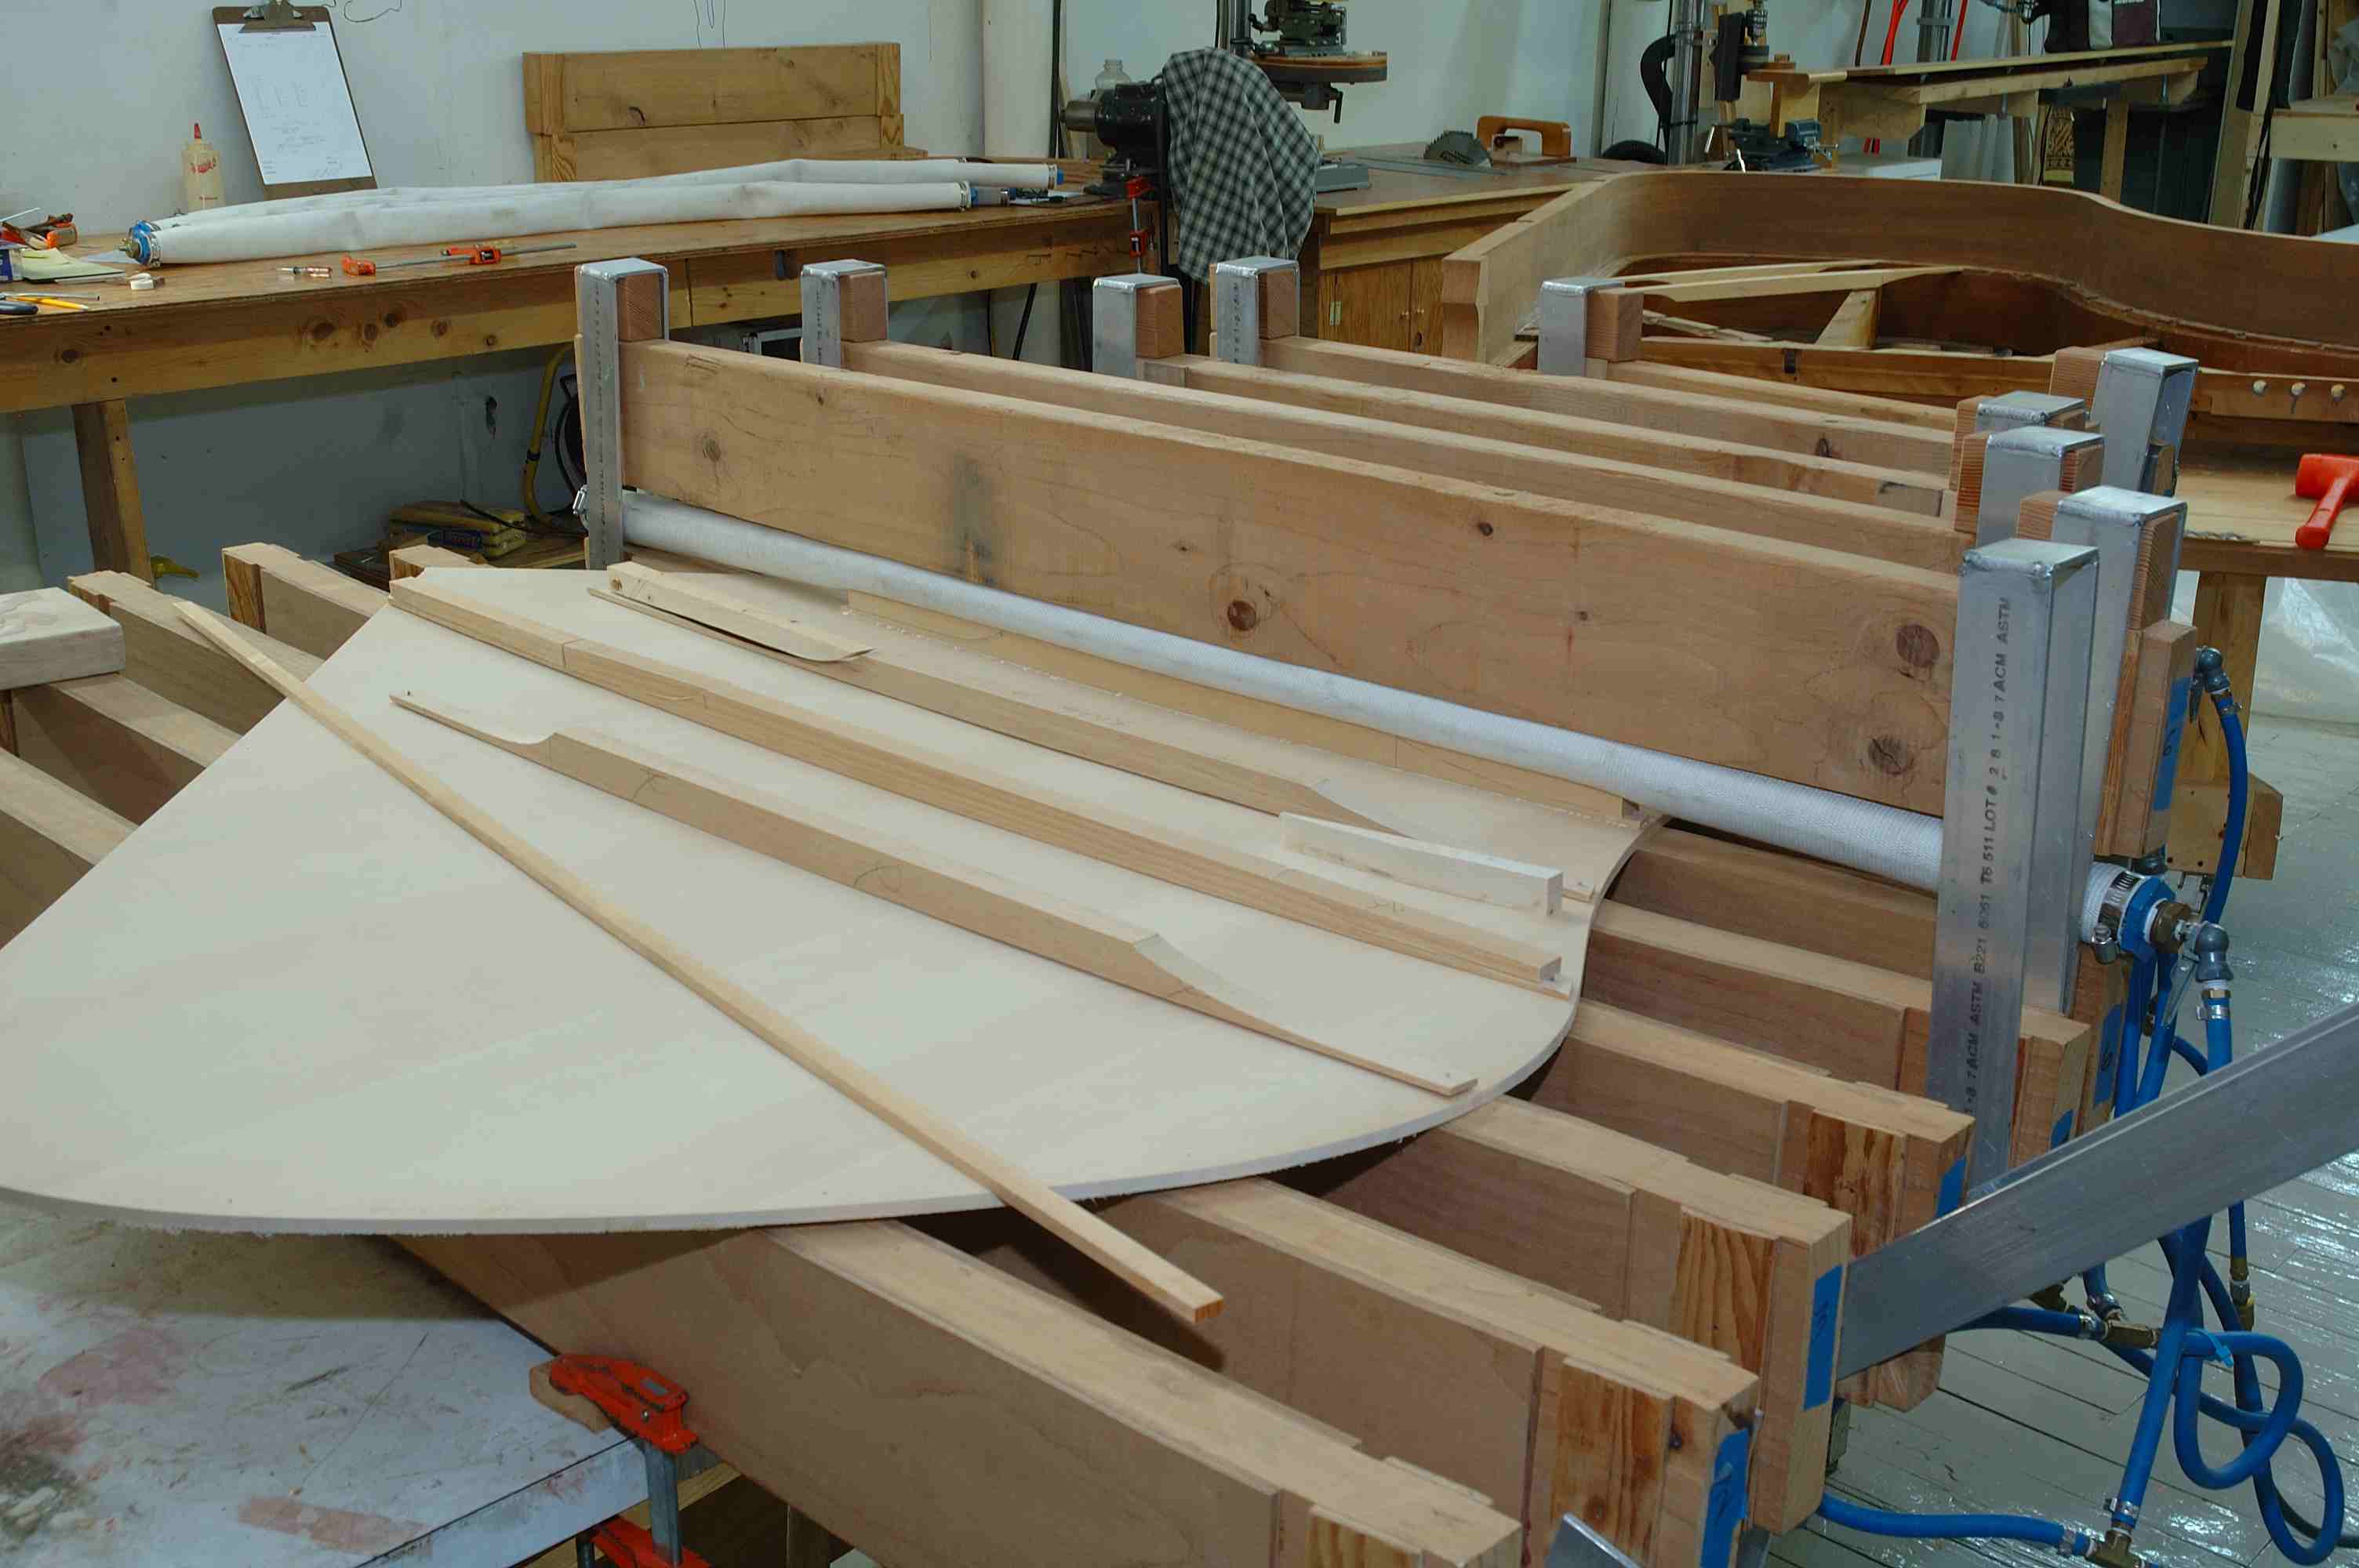 |
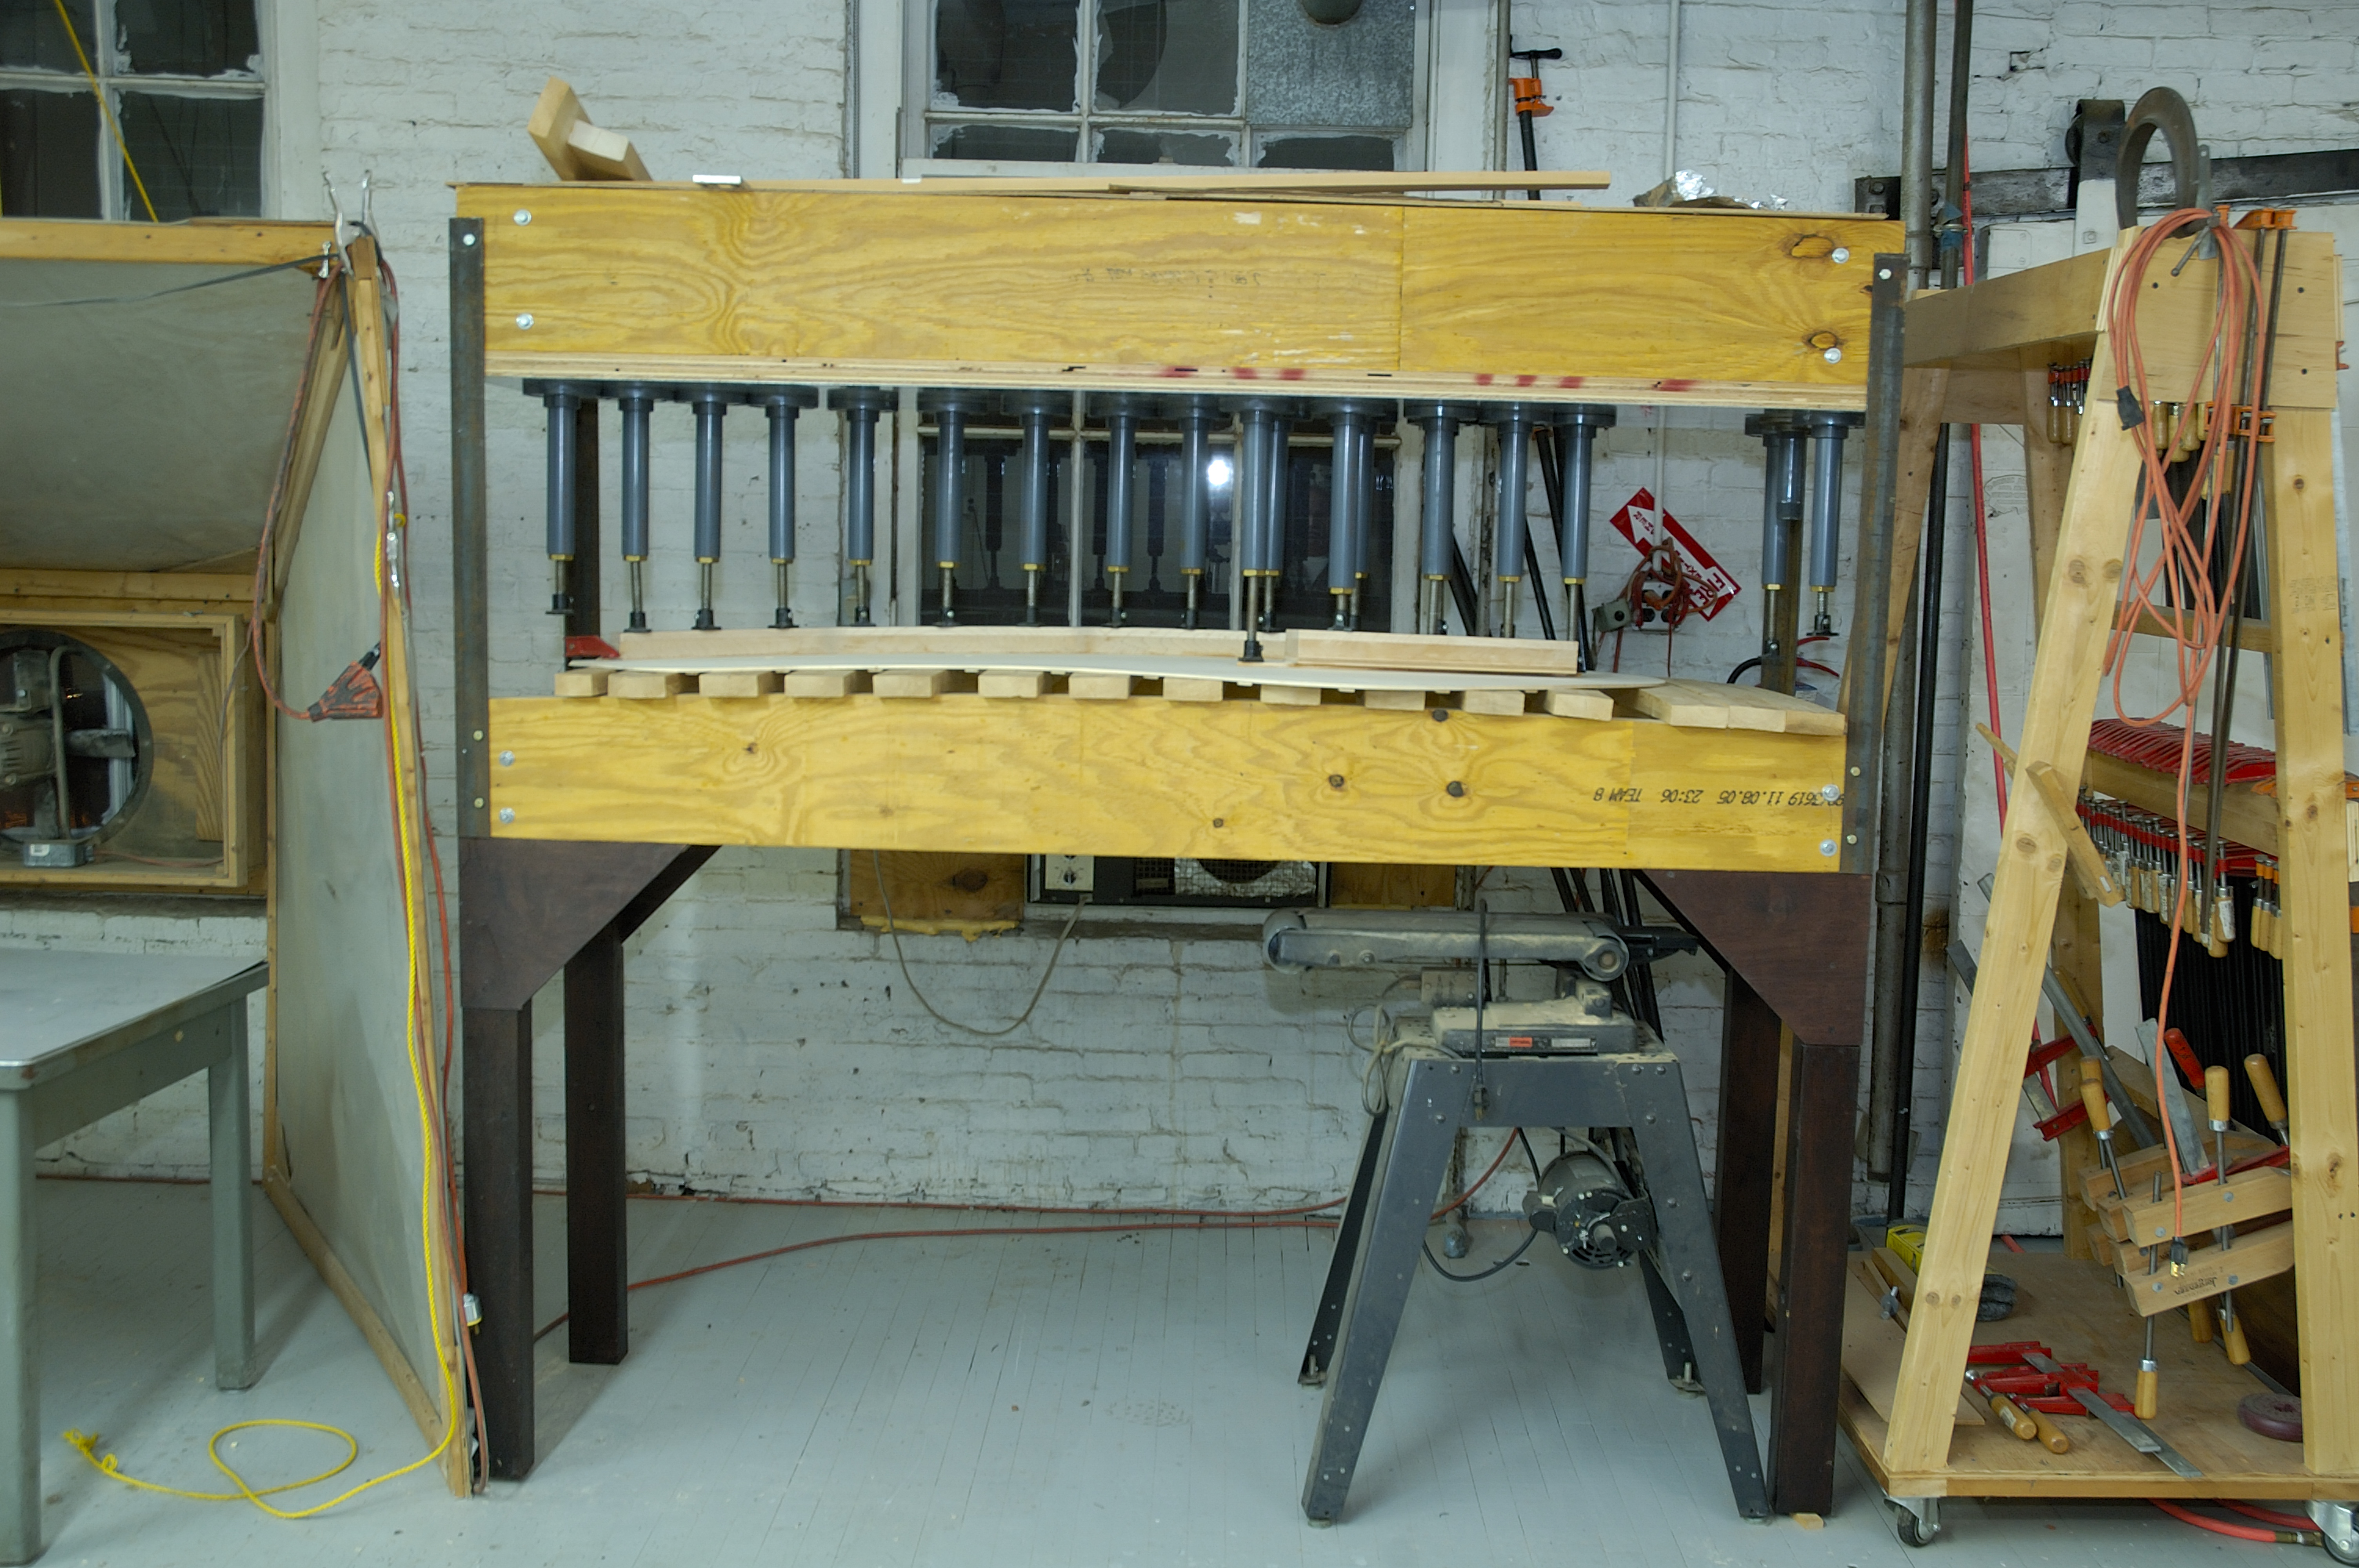
This is the process of "Bellying the board", where the ribs are actually glued on. The cauls are curved and clamping is via the compressed air in the hose. |
|
|
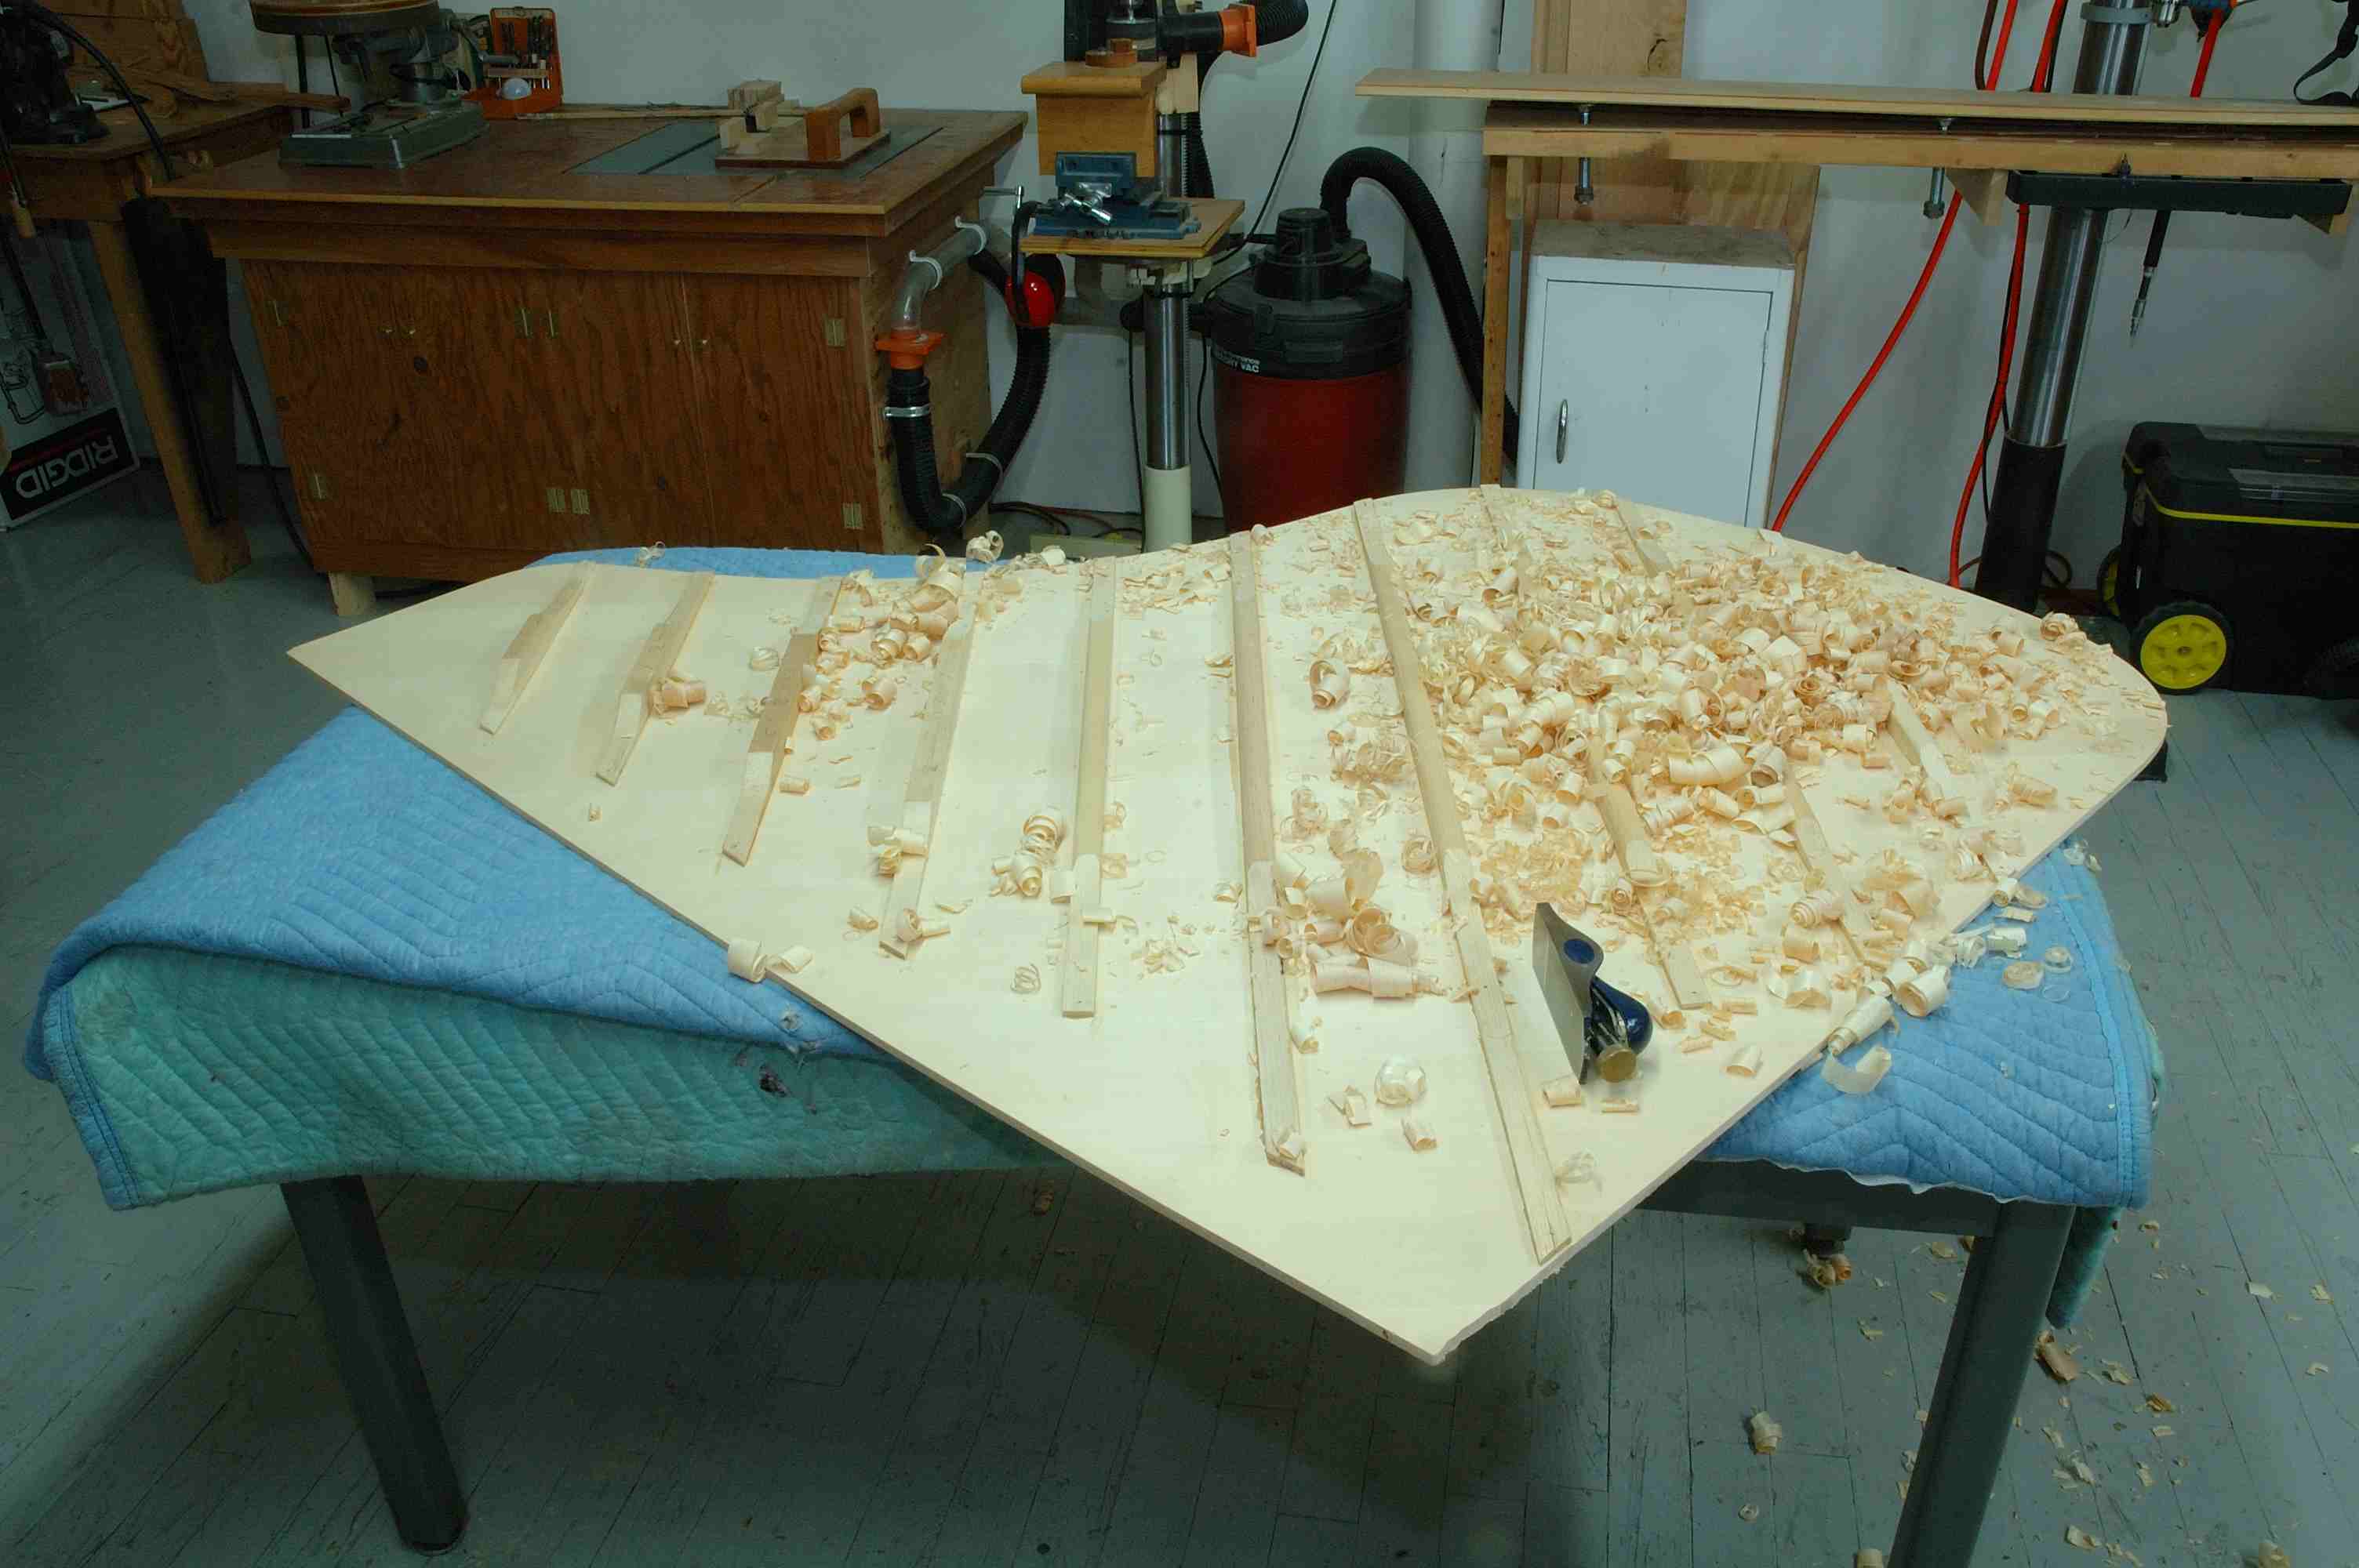 |
After the ribs are glued, they are shaped and the underneath of the board is sanded. The bottom of the board, facing lower left has yet to be trimmed to fit the belly rail. I mention this because the part to be trimmed is a bit rough. That will go away. |
|
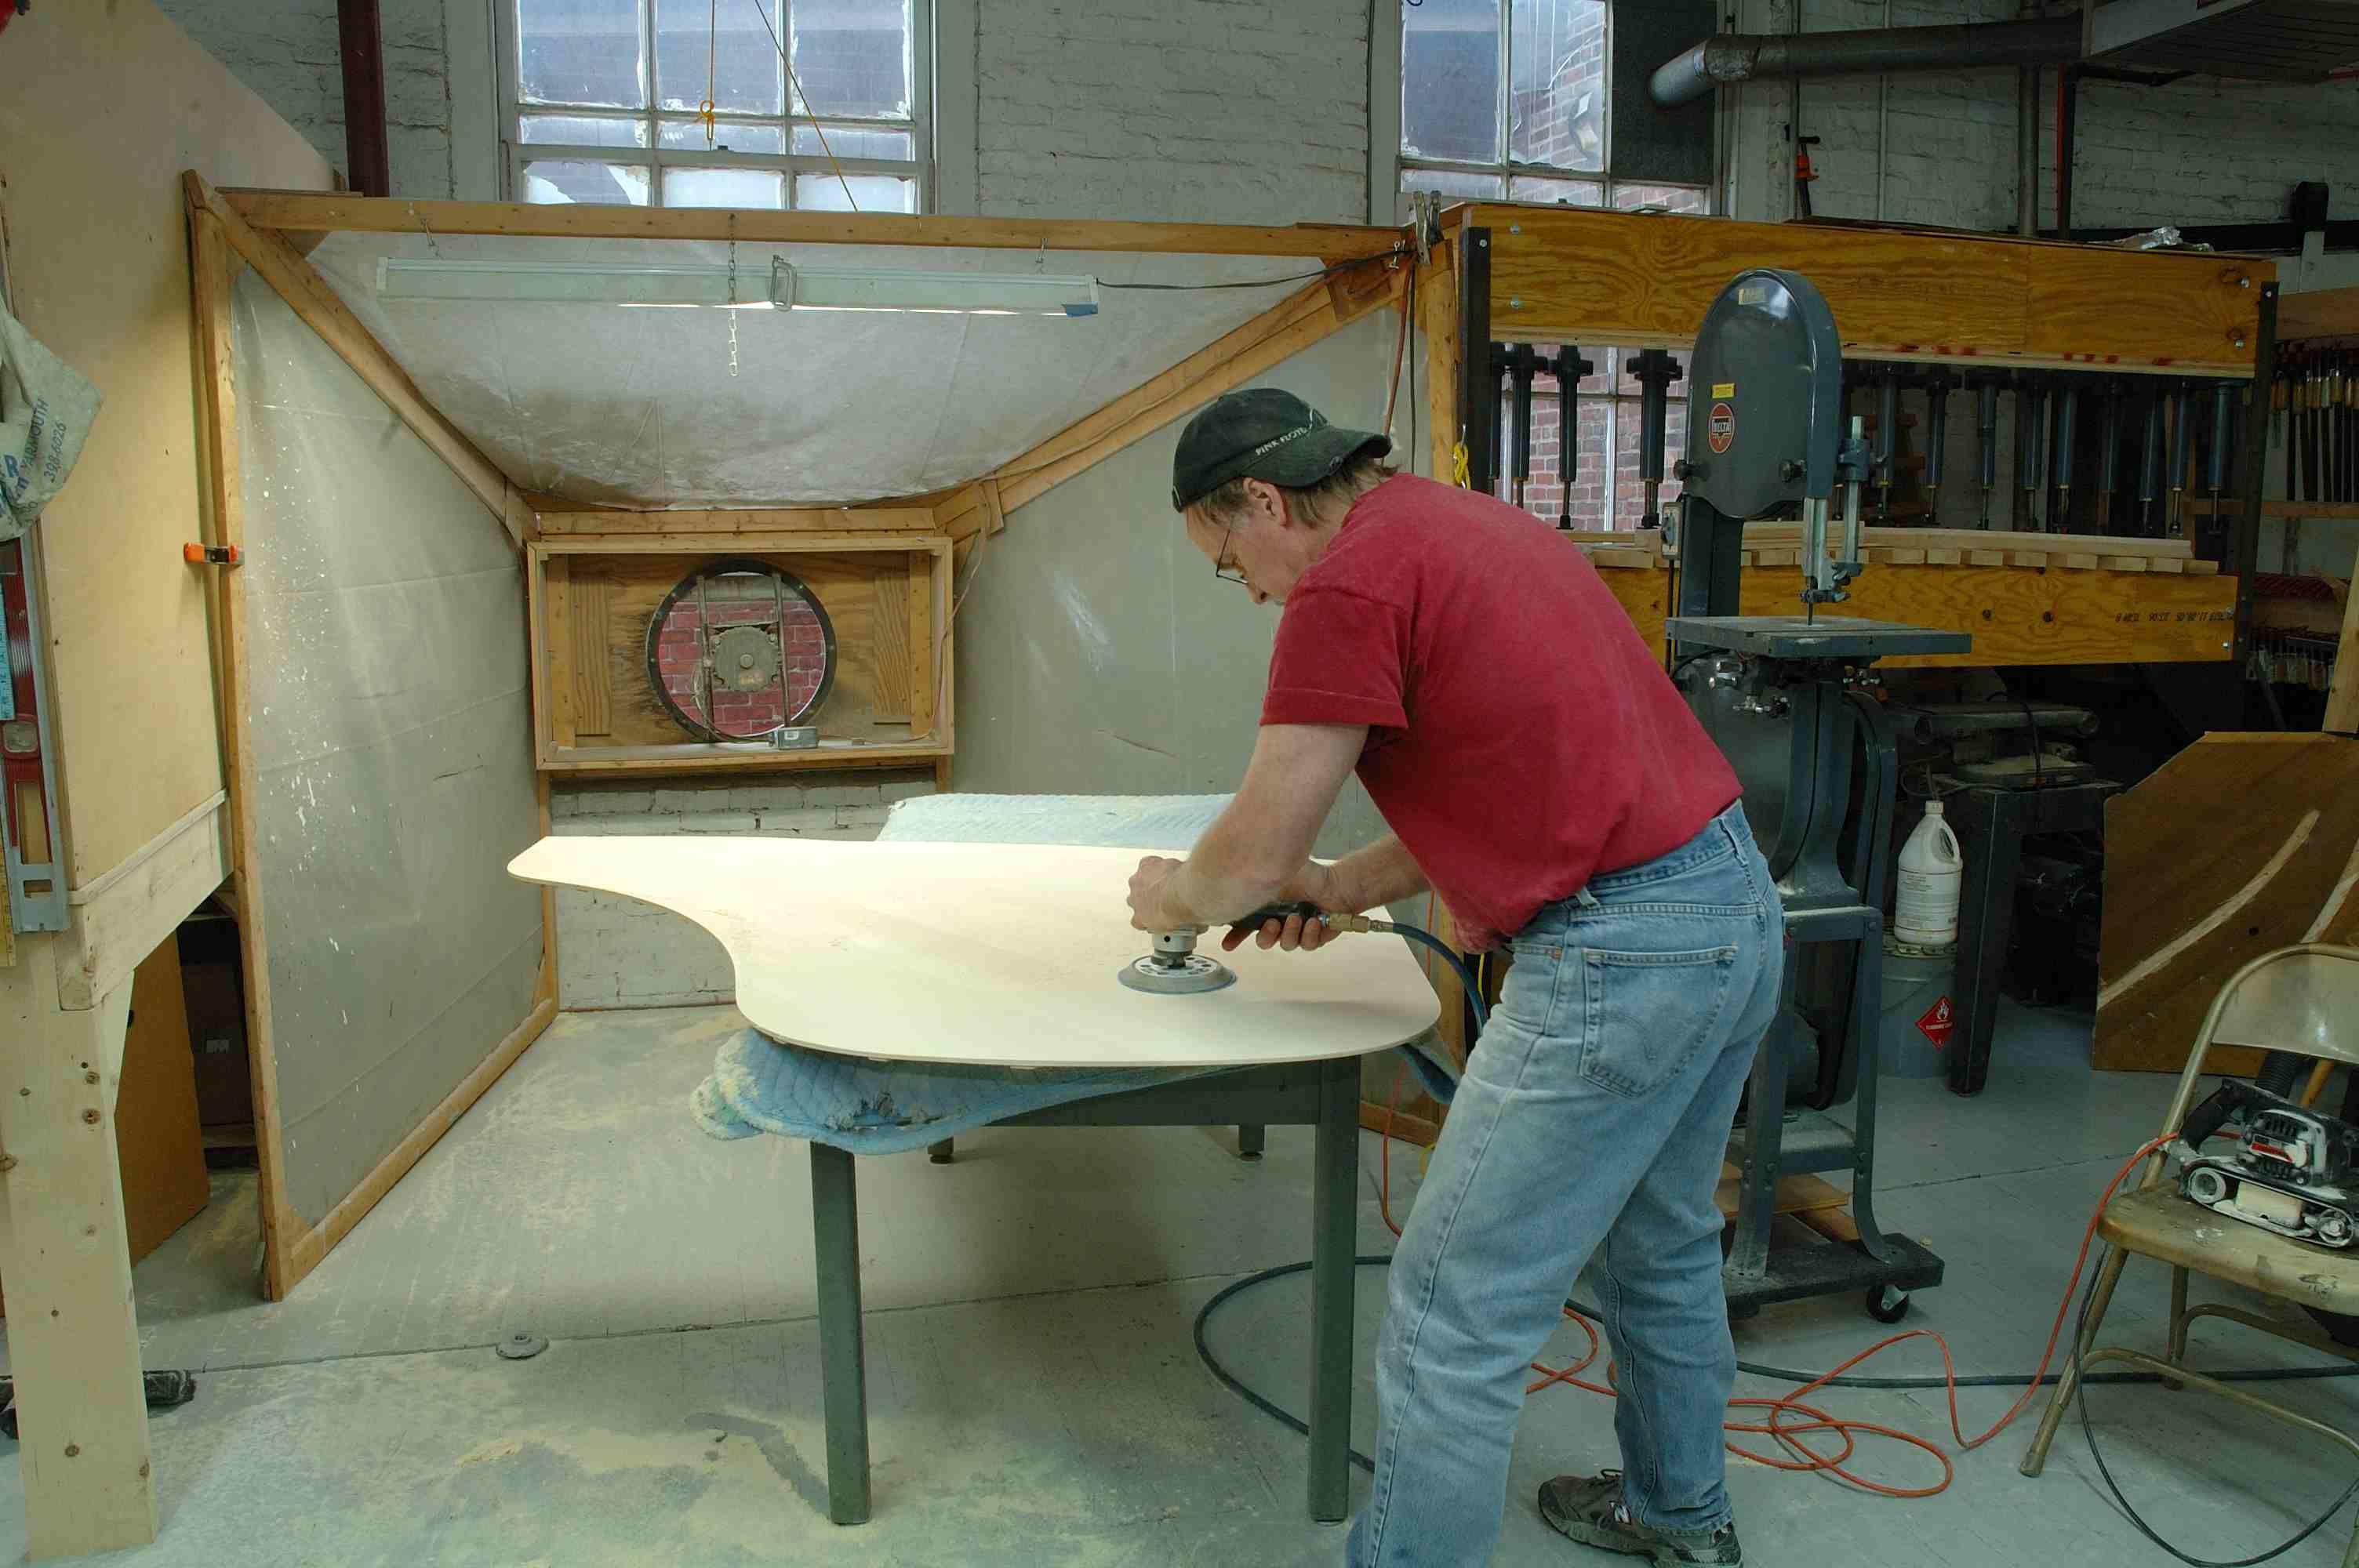 |
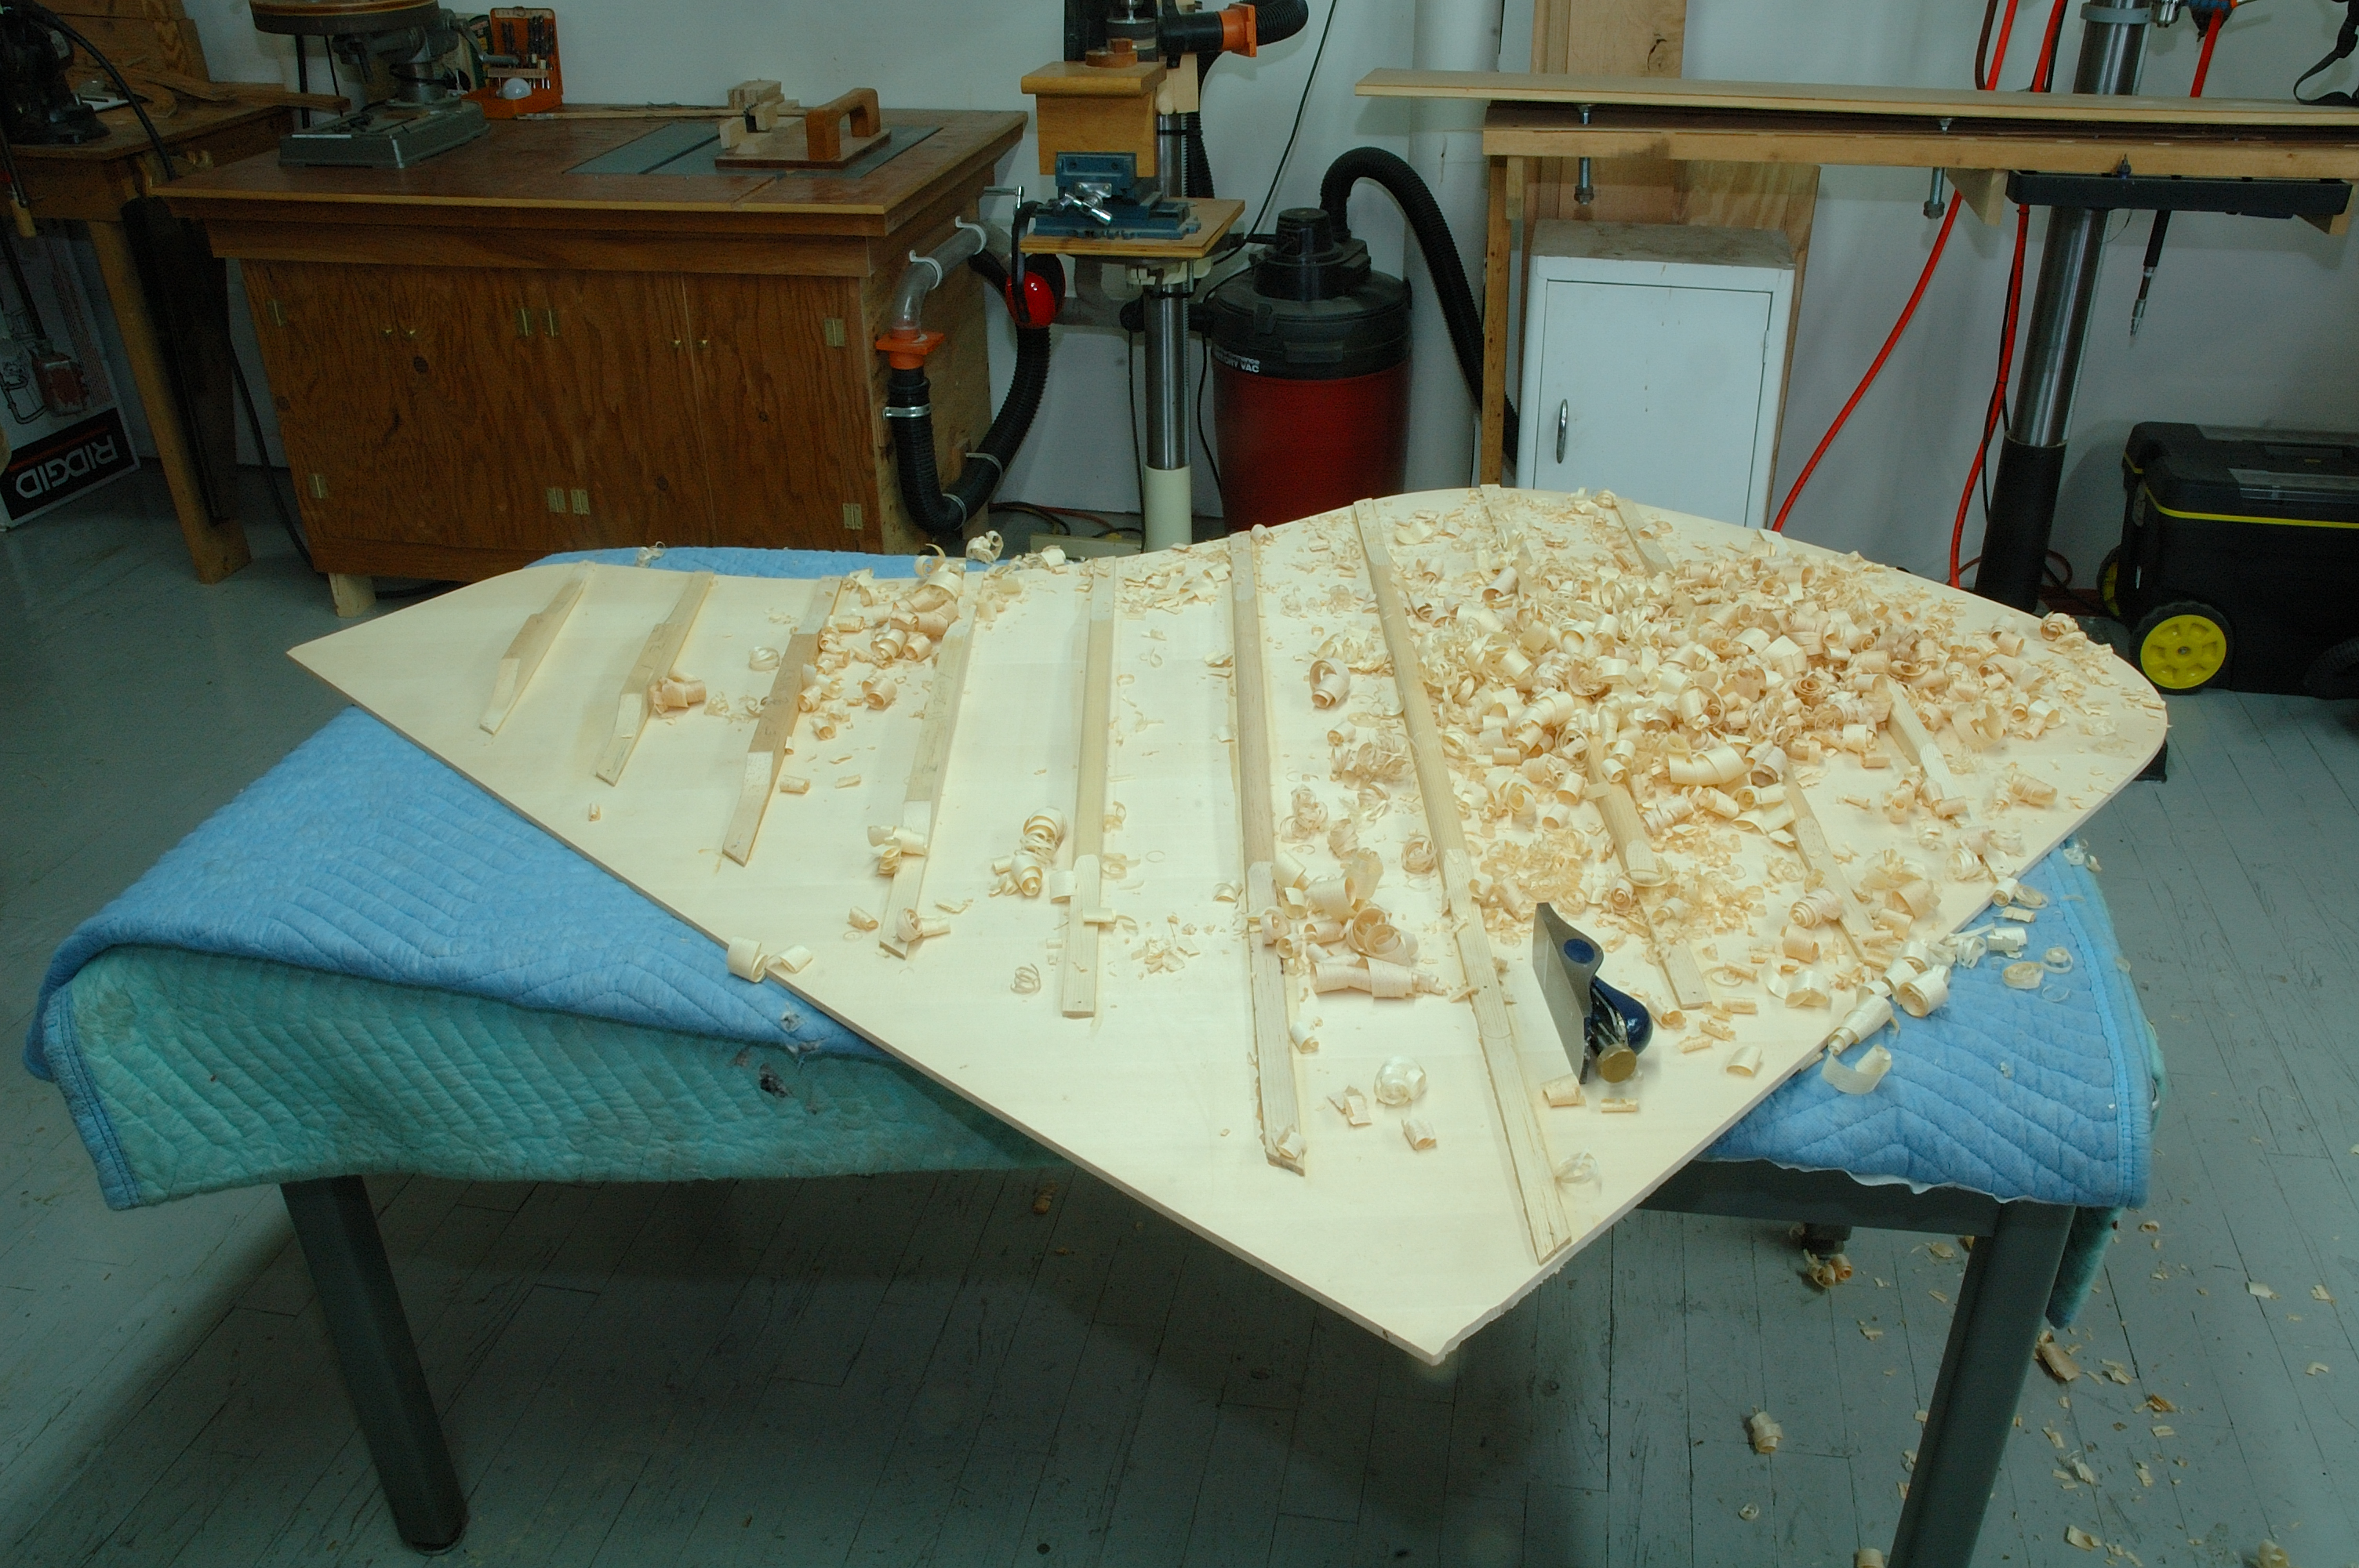
The sound board is tapered for flexability. Initial tapering is done with a much more agressive belt sander. Here the initial tapering is smoothed off with a D/A sander. |
|
 |
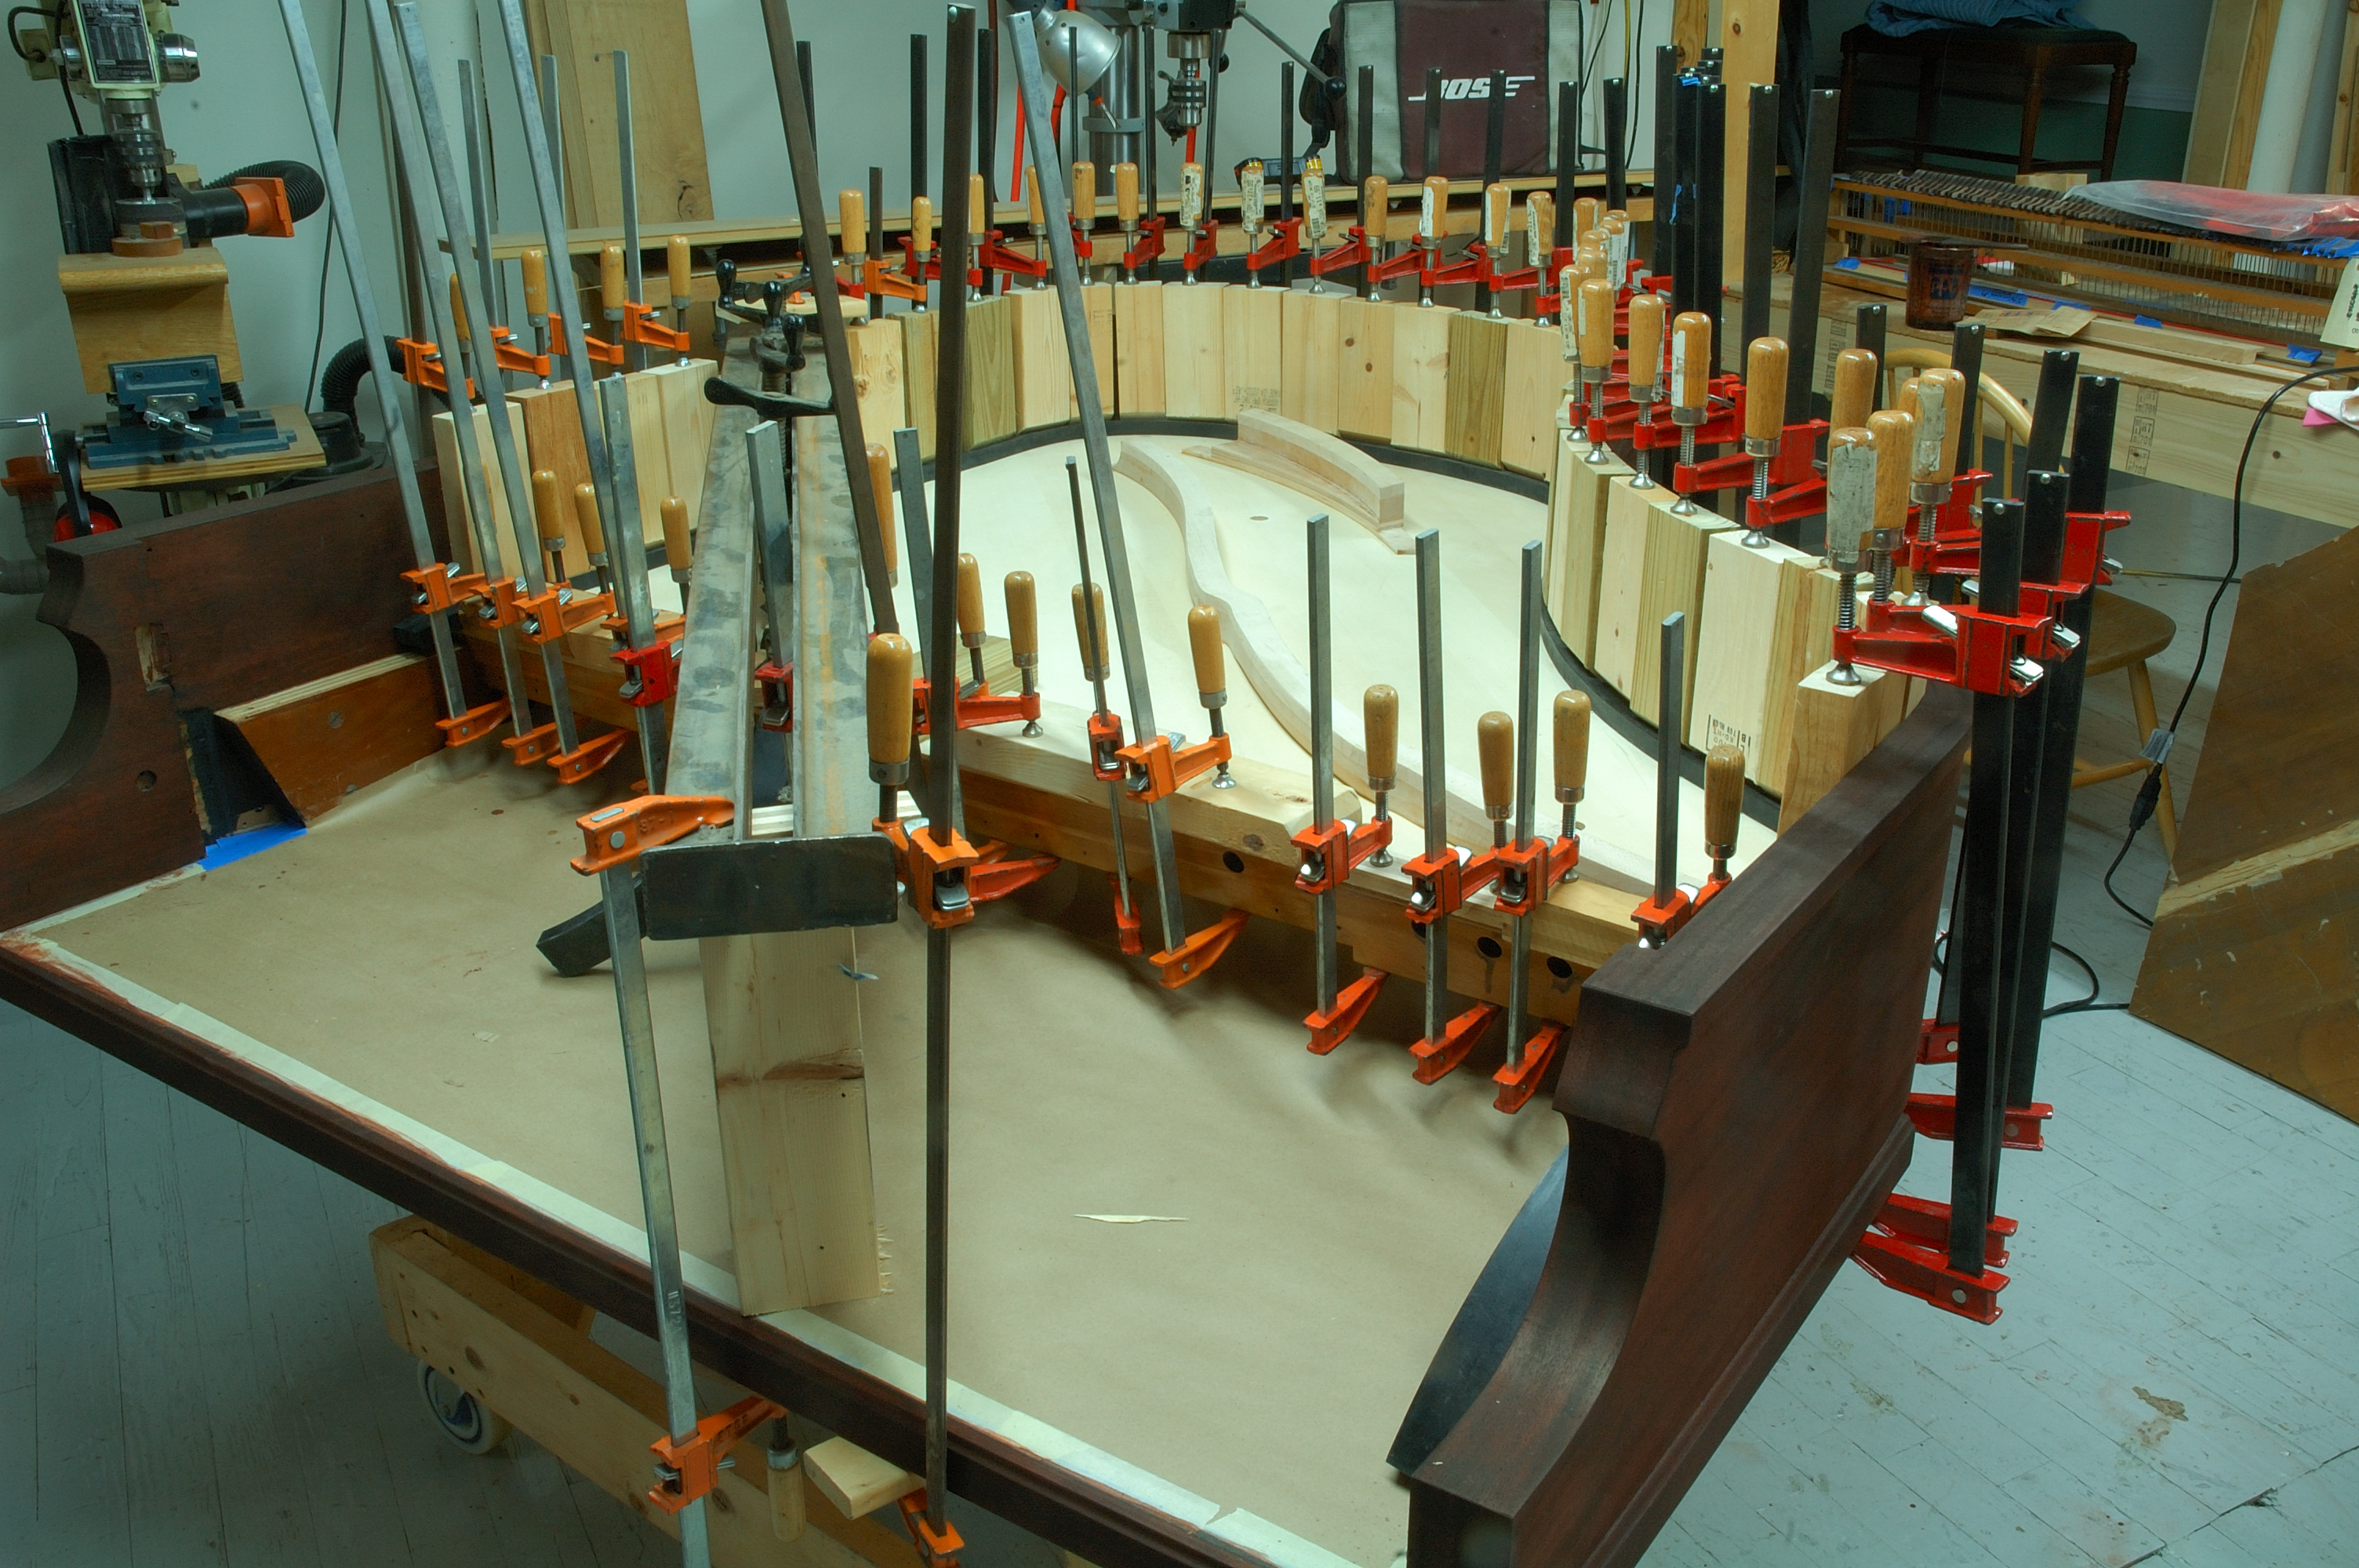
Here the bridges are being glued onto the sound board.
The press has a radius both side to side and front to badk to accomodate the compound arc of the sound board as the bridges are being clamped on. |
|
 |
This is unusual and requires extra time. The piano is stained before the sound board is glued in. This makes for very clean lines. |
|
 |
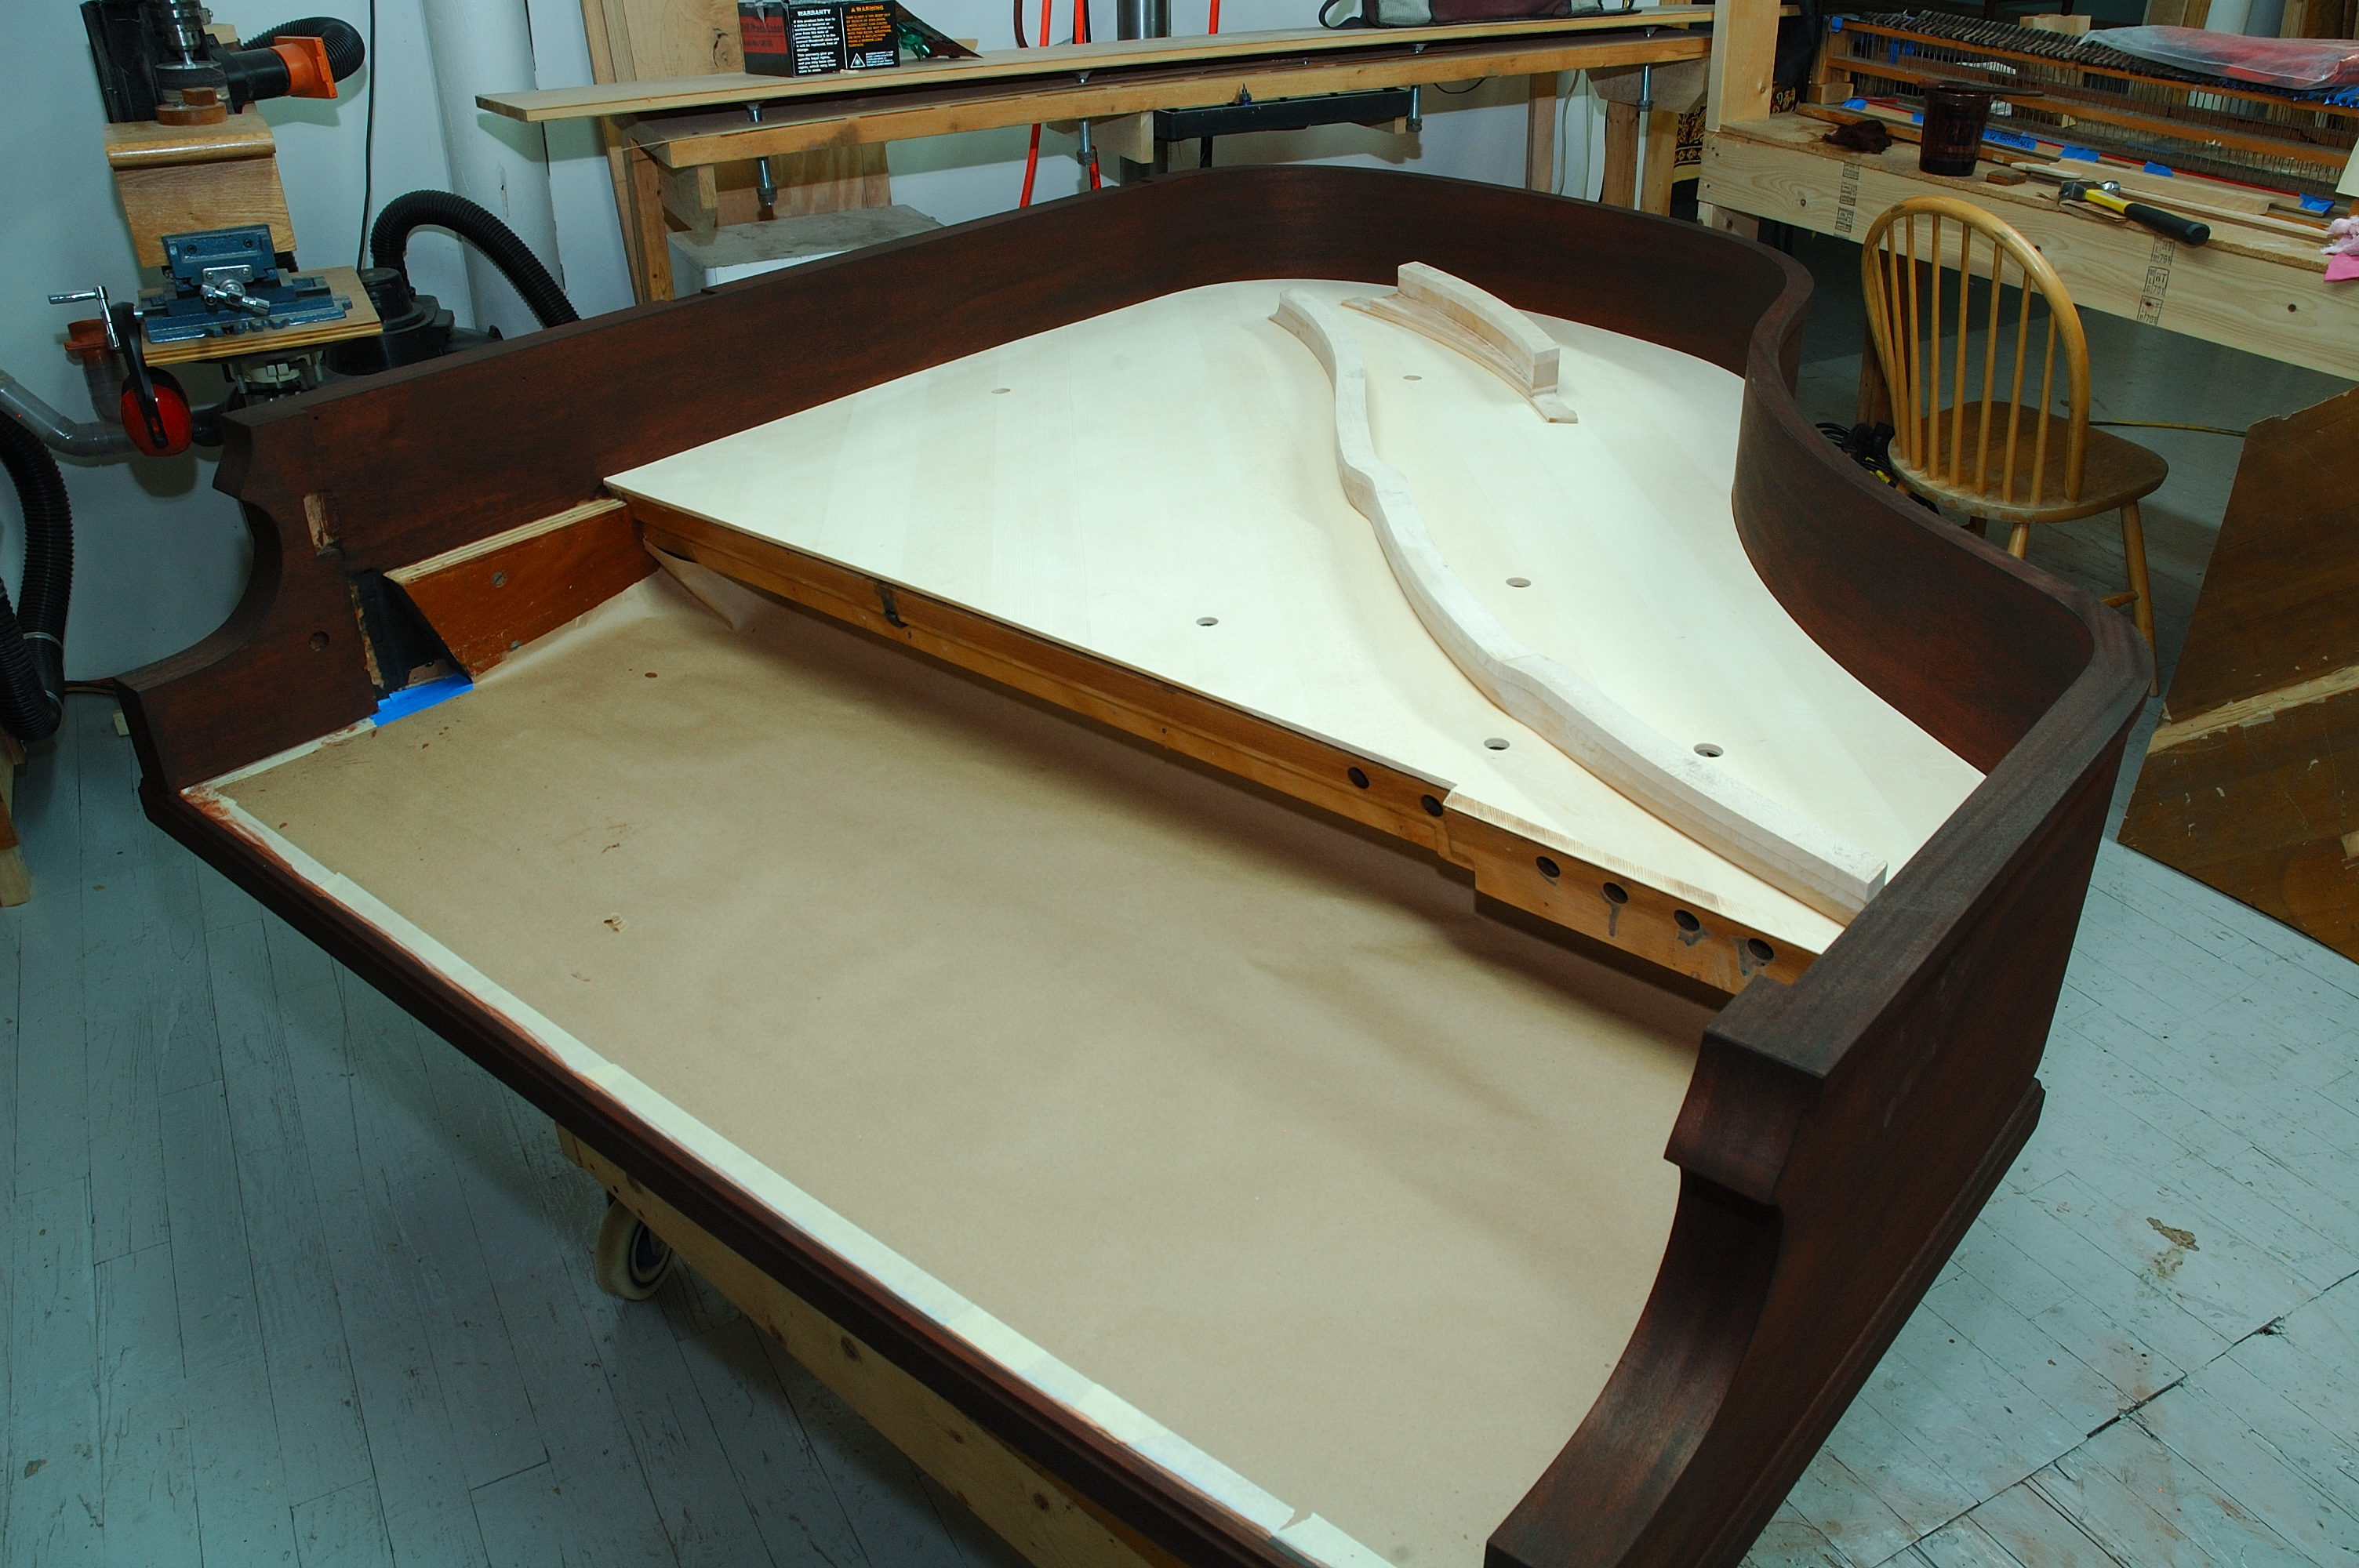
The sound board is placed in so that the inner rim can be traced. The glue area on the sound board has to be masked before finish can be applied to the underside. |
|
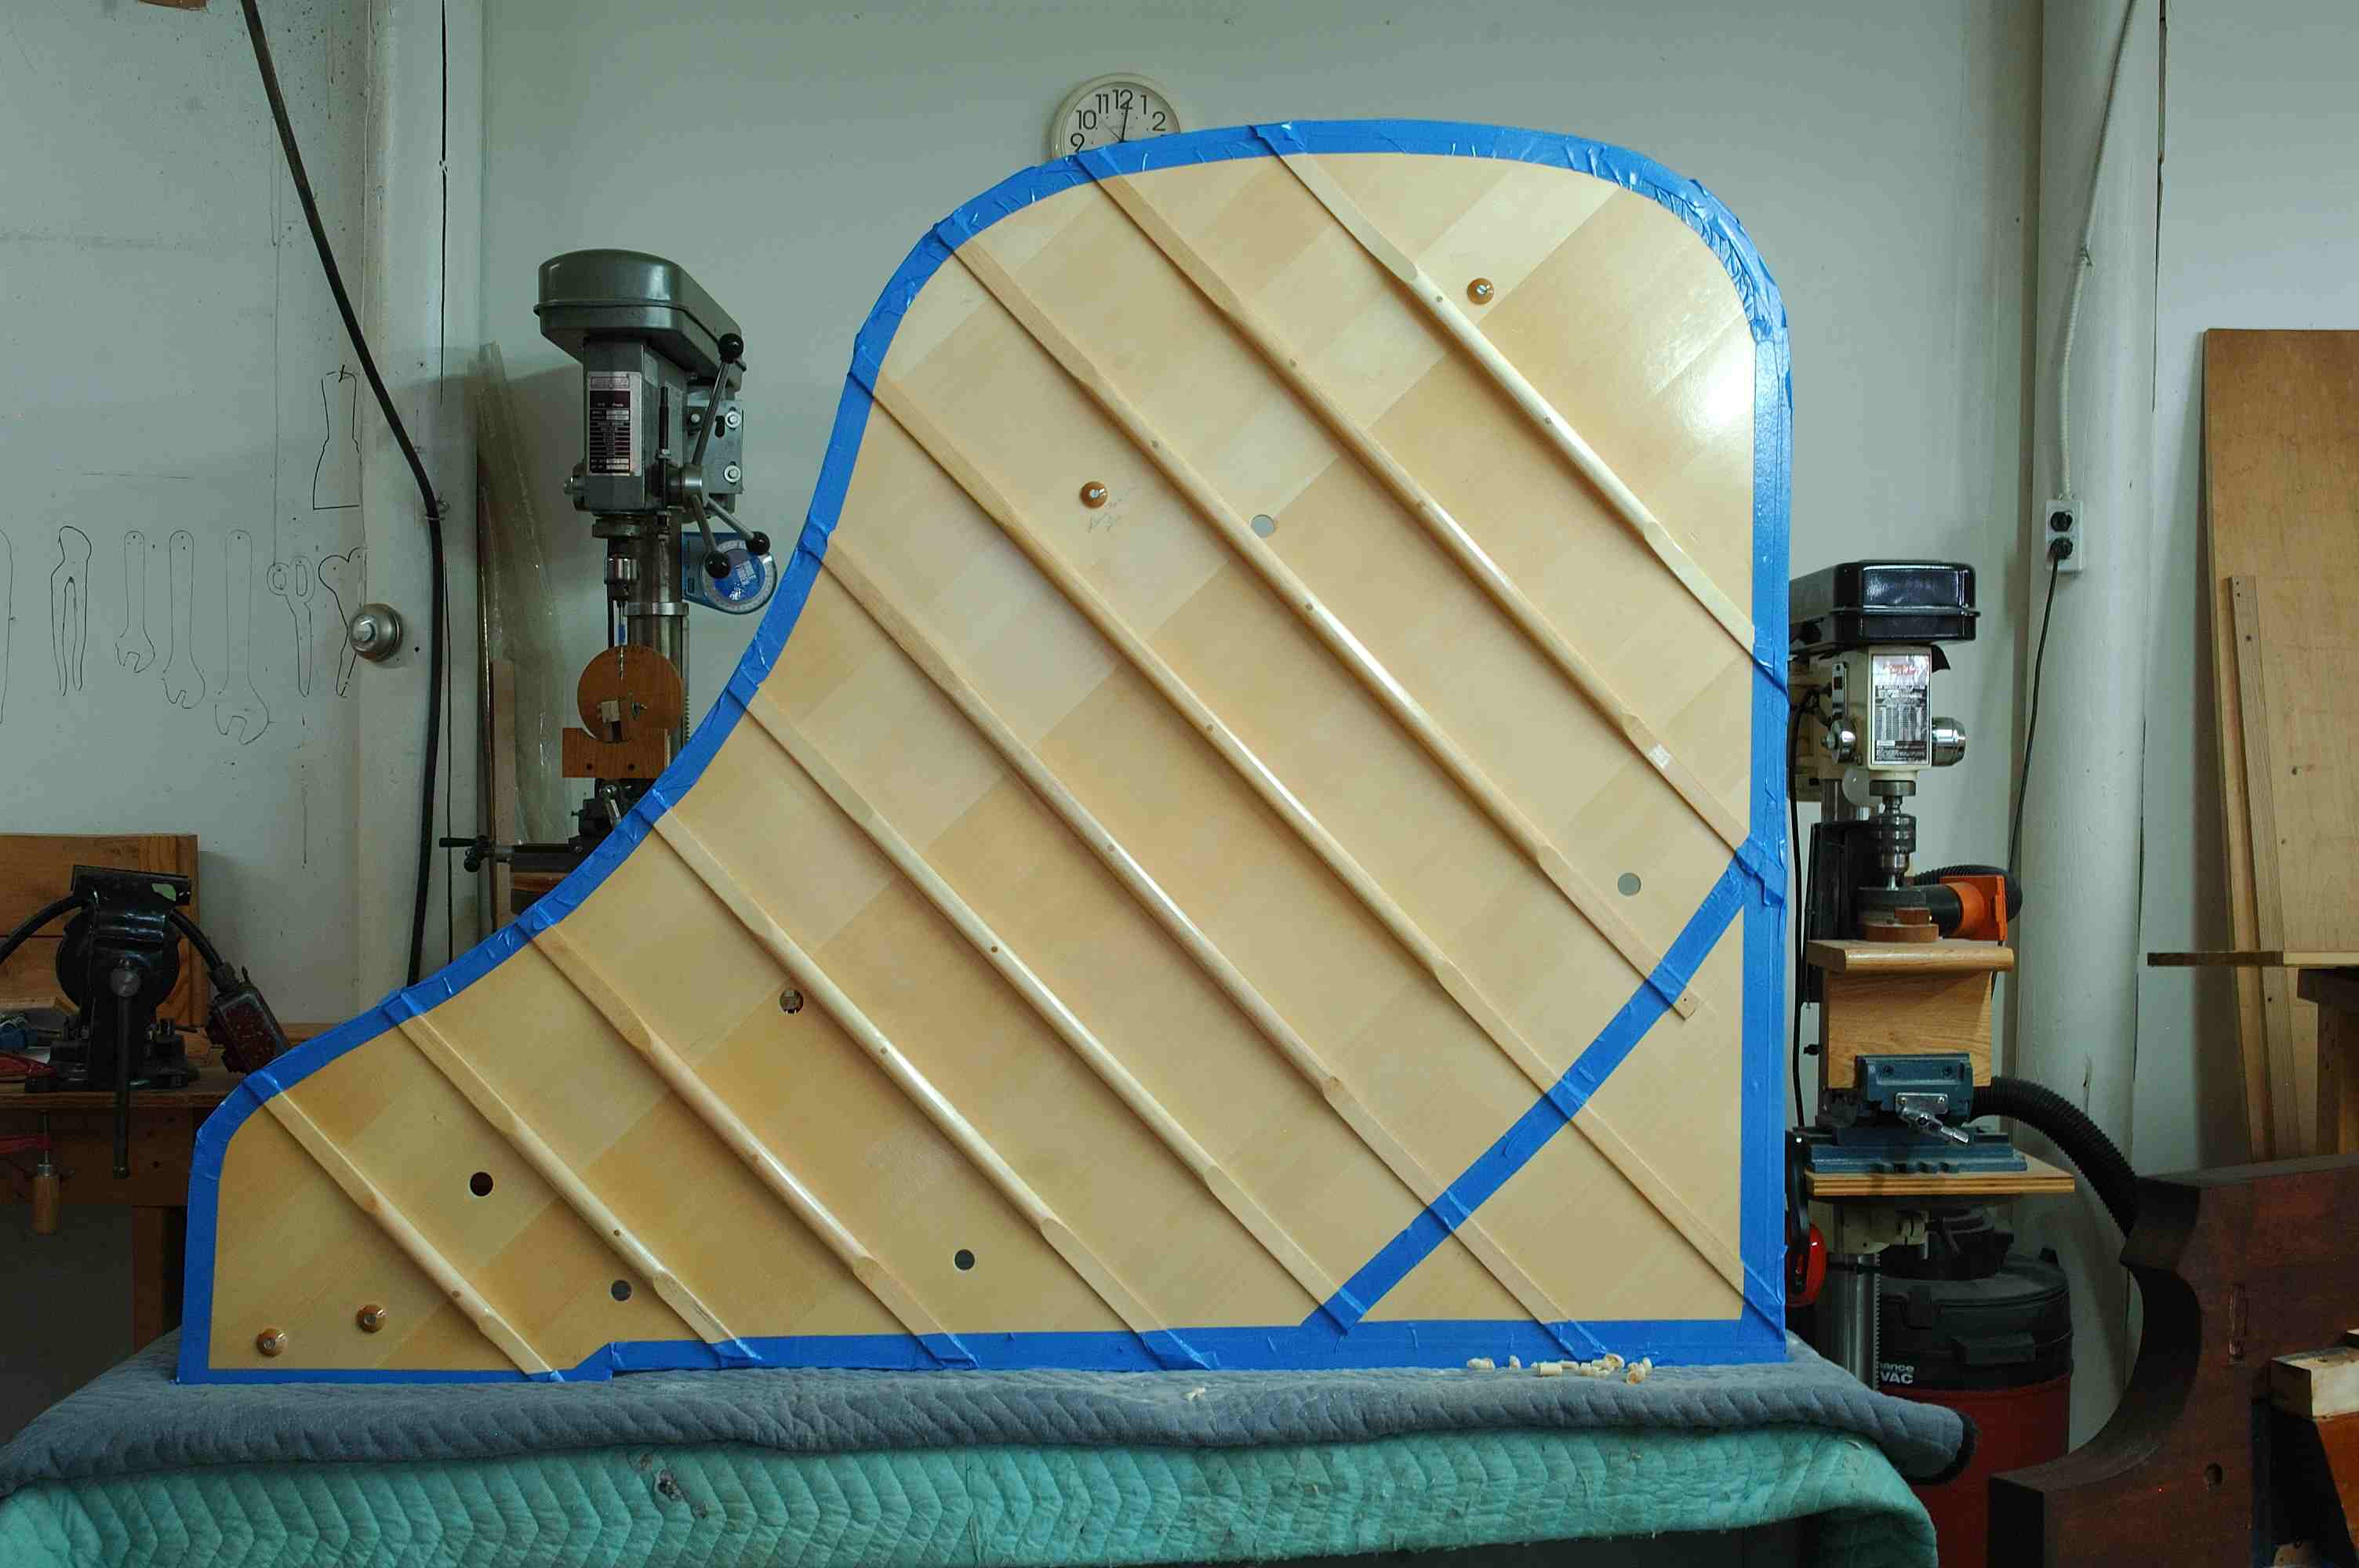 |
This is the underside of the sound board with finish on it. The blue tape at the edges keeps finish from the areas that will be glued. |
|
 |
|
|
|
|
|
|
|
|